
Can You Drill Holes Into A Kayak? Complete DIY Guide for 2026
Staring at your pristine kayak deck, drill in hand, wondering if you're about to make a costly mistake? I've been there. That first hole feels like a commitment – and it is. But here's what two decades of kayak modifications have taught me: drilling holes into a kayak isn't just safe when done correctly, it's often the difference between a basic boat and your perfect paddling platform.
The key is understanding that yes, you can absolutely drill holes into a kayak – provided you follow proven techniques, use the right materials, and respect your boat's limits. This guide covers everything from choosing sealants that actually bond to polyethylene to fixing mistakes when things go sideways. Whether you're mounting your first rod holder or planning a complete fishing kayak transformation, I'll walk you through the process that has kept my kayaks (and dozens I've helped outfit) watertight through years of use.
By the time you finish reading, you'll know exactly where to drill, what hardware to use, and how to seal your work so well that those holes become the strongest parts of your setup.
Is It Safe to Drill Into Your Kayak?
The question isn't whether drilling is safe – it's whether you're drilling in the right place with the right technique. Location matters infinitely more than the act itself.
I learned this the hard way in 2004 when I drilled a fish finder transducer mount below the waterline on my first fishing kayak. Seemed logical – shortest cable run, clean installation. By trip three, I had a slow leak that turned into a repair bill. That lesson stuck with me through hundreds of installations since.
Above the Waterline = Safe Territory
Any mounting point that stays dry when your kayak is loaded to capacity is generally safe to drill. This includes deck areas, gunwales (the upper edges), cockpit rims on sit-insides, tank well areas, and most of the upper hull on sit-on-tops. These areas experience minimal water pressure even in rough conditions.
The Danger Zones
Never drill in these areas unless you're an experienced modifier with specific reasons:
- Hull bottom – constant water pressure guarantees leaks
- Below scupper holes on sit-on-tops – these areas collect water
- Anywhere submerged when loaded – water finds its way in
- Structural bulkheads – the internal walls that give your kayak rigidity
Material Matters
Different kayak materials respond differently to drilling:
- Polyethylene (most common): Very forgiving, drills cleanly with sharp bits, self-heals minor chips
- Fiberglass/composite: Requires careful technique to prevent gel coat chipping, slower drill speeds essential
- Thermoformed ABS: More brittle than poly, demands sharp bits and gentle pressure
- Inflatable kayaks: Never drill these – guaranteed puncture damage
One critical consideration: your warranty. Most manufacturers void coverage for customer modifications, though brands like Native Watercraft and Jackson actually design their kayaks expecting customization. Contact your manufacturer before drilling if warranty coverage matters to you.
Why Kayakers Drill Holes: Essential Modifications
After helping hundreds of paddlers outfit their kayaks, I've identified the modifications that genuinely improve the on-water experience. Here's what drives most people to pick up that drill:
Fishing Setup Essentials
Fishing represents the number one reason kayakers drill holes. My own rig has 14 mounting points, each serving a specific purpose after years of refinement:
- Rod holders: Flush mounts typically need 4-6 holes each
- Fish finder transducer: Usually requires 2-4 holes depending on mount type
- Anchor trolley system: 6-8 holes for proper pulley placement
- Tackle box mounts: 4 holes minimum for secure attachment
Gear Tracks: One-Time Drilling, Endless Options
This is where smart drilling pays dividends. Install a gear track with 4-8 holes, and you've created infinite mounting points without Swiss-cheesing your hull. I run gear tracks on every fishing kayak I own – same mounting points work for cameras, rod holders, cup holders, and accessories I haven't even bought yet.
The beauty of gear tracks is adaptability. Yesterday's fish finder mount becomes tomorrow's camera platform. You're drilling once for unlimited future options.
Safety and Navigation Gear
Don't overlook these critical additions that often require drilling:
- Flag pole mounts for visibility (required in many states)
- Compass mounting points for navigation
- Safety light brackets for night paddling
- Bilge pump holders for emergency water removal
Comfort Upgrades
Long days on the water demand ergonomic modifications:
- Upgraded seat mounting points for aftermarket seating
- Foot brace adjustment rails – see our foot peg installation guide for details
- Back band anchors for improved lumbar support
- Thigh brace installations for better control
Storage Solutions
Because organized storage beats cargo chaos:
- Deck bungee anchors for securing gear
- Mesh bag attachment points
- Dry box tie-downs for critical equipment
- Paddle keeper clips for hands-free fishing
Before drilling anything permanent, spend a day on the water with accessories temporarily attached using suction cups or clamps. You'll quickly identify what placement works and what interferes with paddling. Drilling holes in the wrong location is far worse than waiting to get it right.
Types of Hardware for Mounting
Selecting the right hardware is like choosing the right paddle – the wrong choice creates frustration every time you're on the water. Here's what actually works based on real-world testing:
Stainless Steel Screws with Backing Nuts
My go-to solution for 90% of installations. Last season, I helped mount a trolling motor on an Old Town kayak using 1/4-20 stainless bolts with nylock nuts. Two years and countless trips later, the mount remains rock solid.
Use this approach when you can access both sides of the mounting location. You need genuine 316 stainless steel (not 304, which corrodes in marine environments), nylon lock nuts to prevent loosening, fender washers for load distribution, and marine sealant for waterproofing.

Type 316 Stainless Steel Phillips Pan Sheet Metal Screw Kit Marine Bolt Supply 6-111916
270-piece Type 316 stainless kit
Pan head Phillips screws
Organized carry case
Superior marine corrosion resistance
+ Pros
- Type 316 gold standard for marine
- Never rusts in saltwater
- Organized case keeps sizes sorted
- Pan head distributes load well
- Better than cheaper 304 kits
- Cons
- More expensive than 304 options
- Phillips can strip with wrong driver
- Sheet metal threads limited use
- No locking nuts included
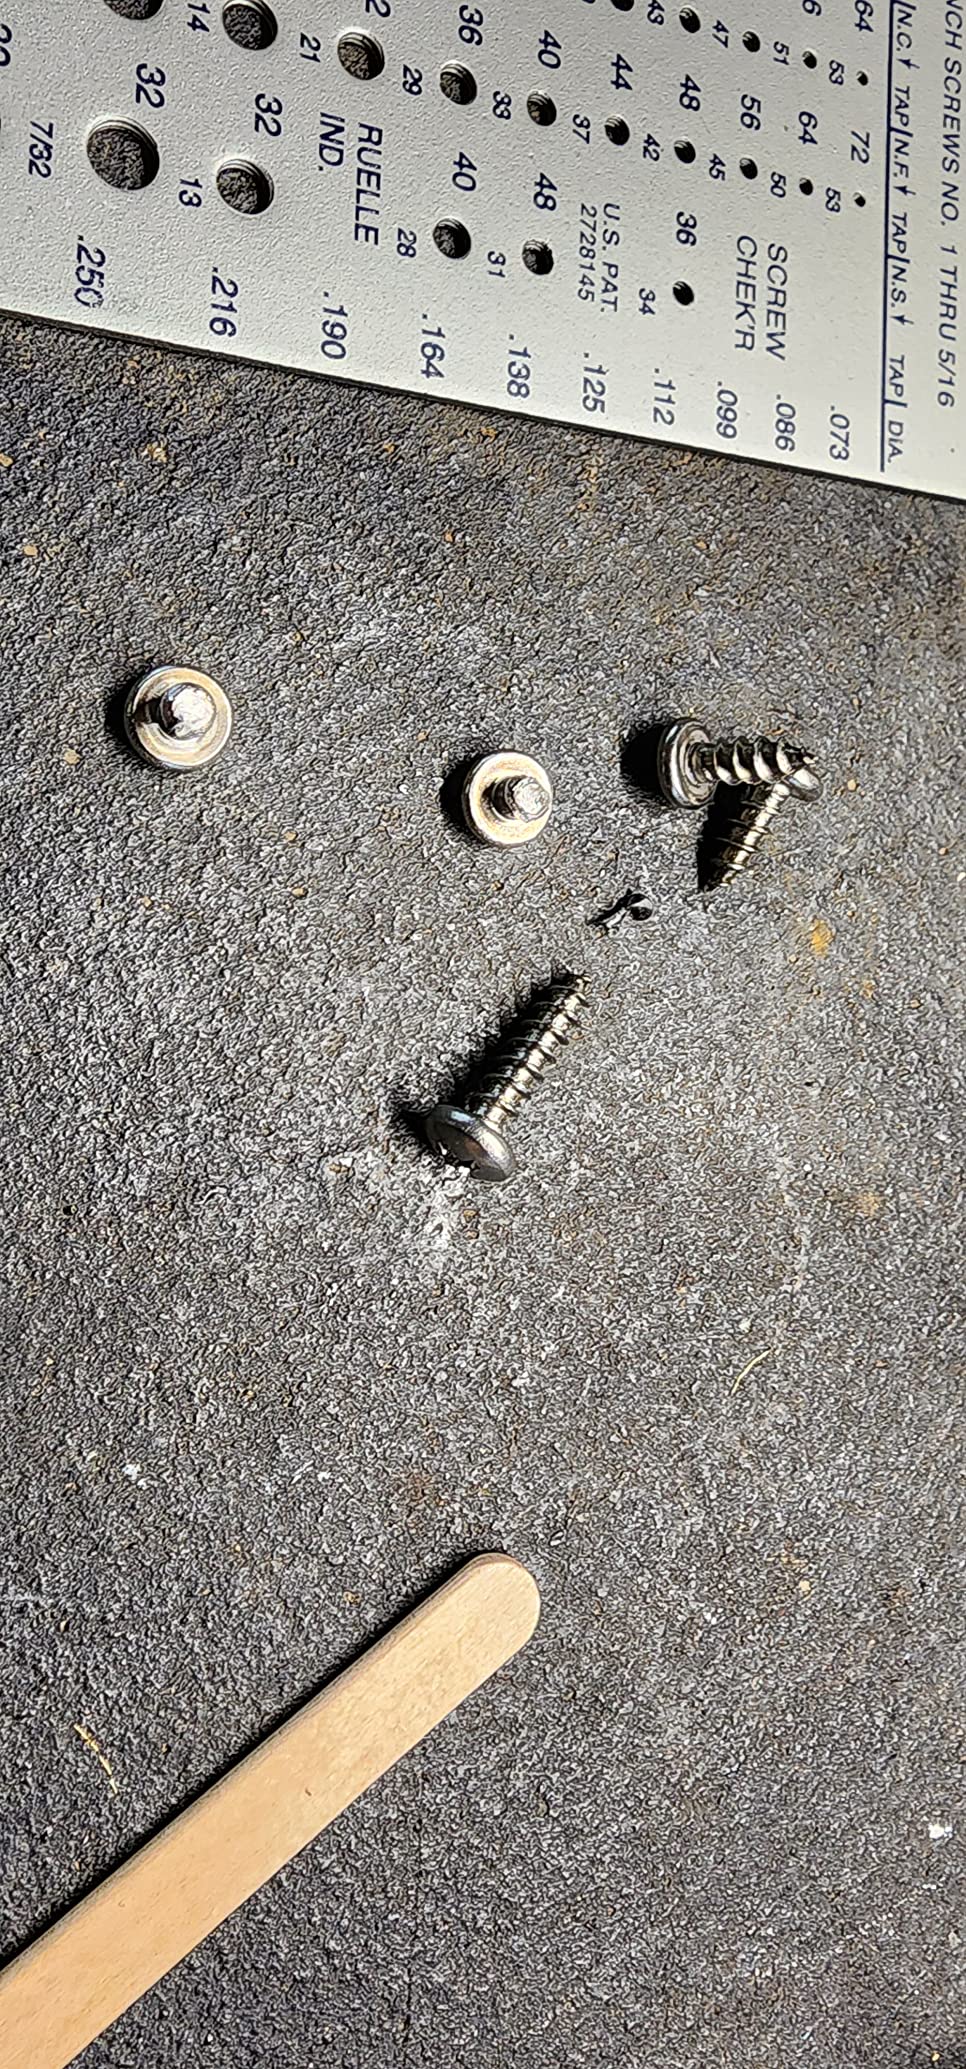
Self-Tapping Screws
These workhorses serve sit-on-top modifications where interior access is impossible. I just installed YakAttack Screwballs on a neighbor's Pescador using self-tappers – no backing hardware needed, yet they hold securely.
For plastic kayaks, use thread-forming screws rather than thread-cutting. The difference matters – thread-formers displace material while cutters remove it, creating stronger holds. Drill slightly undersized pilot holes, tighten until snug plus a quarter turn maximum, and always apply marine sealant to the threads.
Well Nuts (Rubber Expansion Nuts)
These ingenious fasteners expand behind the mounting surface when tightened. Perfect for installing fish finder mounts where you want clean, removable installations without interior access.

WEDAMER 45 Pairs M4 M5 M6 Neoprene Well Nuts Kit Rubber Well Nuts for Kayak
45 pairs M4/M5/M6
Brass nuts with rubber sleeves
304 Stainless steel screws
Expands for secure hold
+ Pros
- Three sizes cover most needs
- No backside access required
- Corrosion-resistant materials
- Watertight seal from expansion
- Great for electronics mounting
- Cons
- Not for heavy loads
- Requires precise pilot holes
- Can spin if overtightened
- M4 heads may not fit all tracks
Well nuts excel for light-to-medium duty applications but aren't suitable for high-stress mounts like trolling motors. They require precisely sized holes and can fail in temperature extremes. For most electronics and rod holder installations, they're ideal.
Pop Rivets: Proceed with Caution
I rarely use rivets anymore. They're permanent, can work loose over time, and removing them usually damages surrounding material. However, for certain factory-style installations, they remain appropriate.
If you must use rivets, always install backing plates to distribute load. Use aluminum rivets for freshwater only – saltwater demands stainless steel. Consider well nuts as a more serviceable alternative whenever possible.
Marine-Grade Adhesive Mounts
For lightweight accessories, drilling isn't always necessary. Quality marine adhesives can secure items without permanent holes.
This approach works for small electronics mounts, deck eyes, paddle clips, and light holders. 3M VHB tape combined with Marine Goop has saved many kayaks from unnecessary perforation. However, adhesive mounts have weight limits – don't trust them for rod holders or anything bearing significant load.
Remember: cheap hardware becomes expensive when it fails miles from shore. I learned this when a corroded screw dropped my new Garmin into 30 feet of water. Quality stainless steel costs more upfront but saves money and heartache long-term.
Complete Step-by-Step Drilling Guide
Time to get practical. I've refined this process through hundreds of installations, including plenty that taught me what not to do. Follow these steps for clean, leak-free holes every time.
Gather Your Tools and Materials
Before making that first hole, assemble everything you'll need. Discovering you're missing something mid-project is frustrating and leads to rushed work.
Essential tools:
- Variable speed drill (cordless works fine)
- Sharp drill bits including 1/8" pilot and final sizes
- Center punch or sturdy nail for starting points
- Tape measure for precise spacing
- Permanent marker for marking locations
- Masking tape to prevent bit wandering
- Safety glasses (plastic shavings in eyes hurt)
Materials required:
- Your mounting hardware
- Marine sealant (Marine Goop or 3M 4200 recommended)
- Rubbing alcohol for surface prep
- Clean rags
- Backing plates for heavy loads
Plan Your Mounting Location
This is where most people create problems. I once watched someone drill rod holder holes so close together they overlapped. Don't rush placement.
Ask yourself these questions before marking anything:
- Will this interfere with my paddling stroke?
- Can I reach this while seated in the kayak?
- Is this above the waterline when loaded?
- Will it hit anything during transport on my rack?
- Does this leave room for future accessories?
Pro tip: Create cardboard templates of your accessories and tape them in place. Sit in your kayak on dry land and simulate paddling motions. This simple test has saved me from countless poor placements.
Marking and Pilot Holes
Precision at this stage prevents headaches later.
Start by cleaning the area thoroughly with rubbing alcohol. Apply masking tape over your drill locations – this prevents bits from wandering on smooth plastic surfaces. Mark exact centers with a permanent marker, then use a center punch to create starting dents. This step is critical for clean drill starts.
Drill pilot holes at slow speed using a 1/8" bit. These guide holes ensure your final drilling stays on target. For multiple holes, measure twice and drill once – drilling can't be undone.
Drilling the Final Holes
The moment of truth. Here's how to avoid common mistakes:
Step up bit sizes gradually rather than jumping straight to your final diameter. Go from 1/8" to 3/16" to final size. Keep your drill perpendicular to the surface – angled holes leak and look amateur. Let the drill do the work without forcing it. Clear shavings frequently to prevent bit binding.
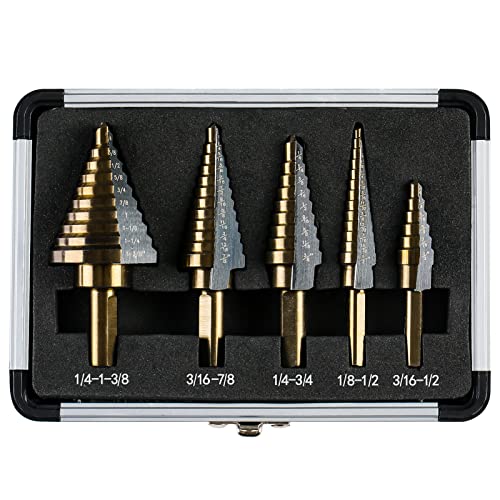
IRONANT 5PCS HSS Titanium Step Drill Bit Set for Metal Unibit
5-piece titanium step drill set
50 sizes total
118° split point tip
Dual-flute chip clearance
+ Pros
- One bit replaces many sizes
- Clean cuts in plastic
- Titanium coating extends life
- Aluminum case included
- Prevents bit grabbing
- Cons
- Not for stainless steel
- Can break under pressure
- Requires adequate drill power
- Steps may catch in thin material
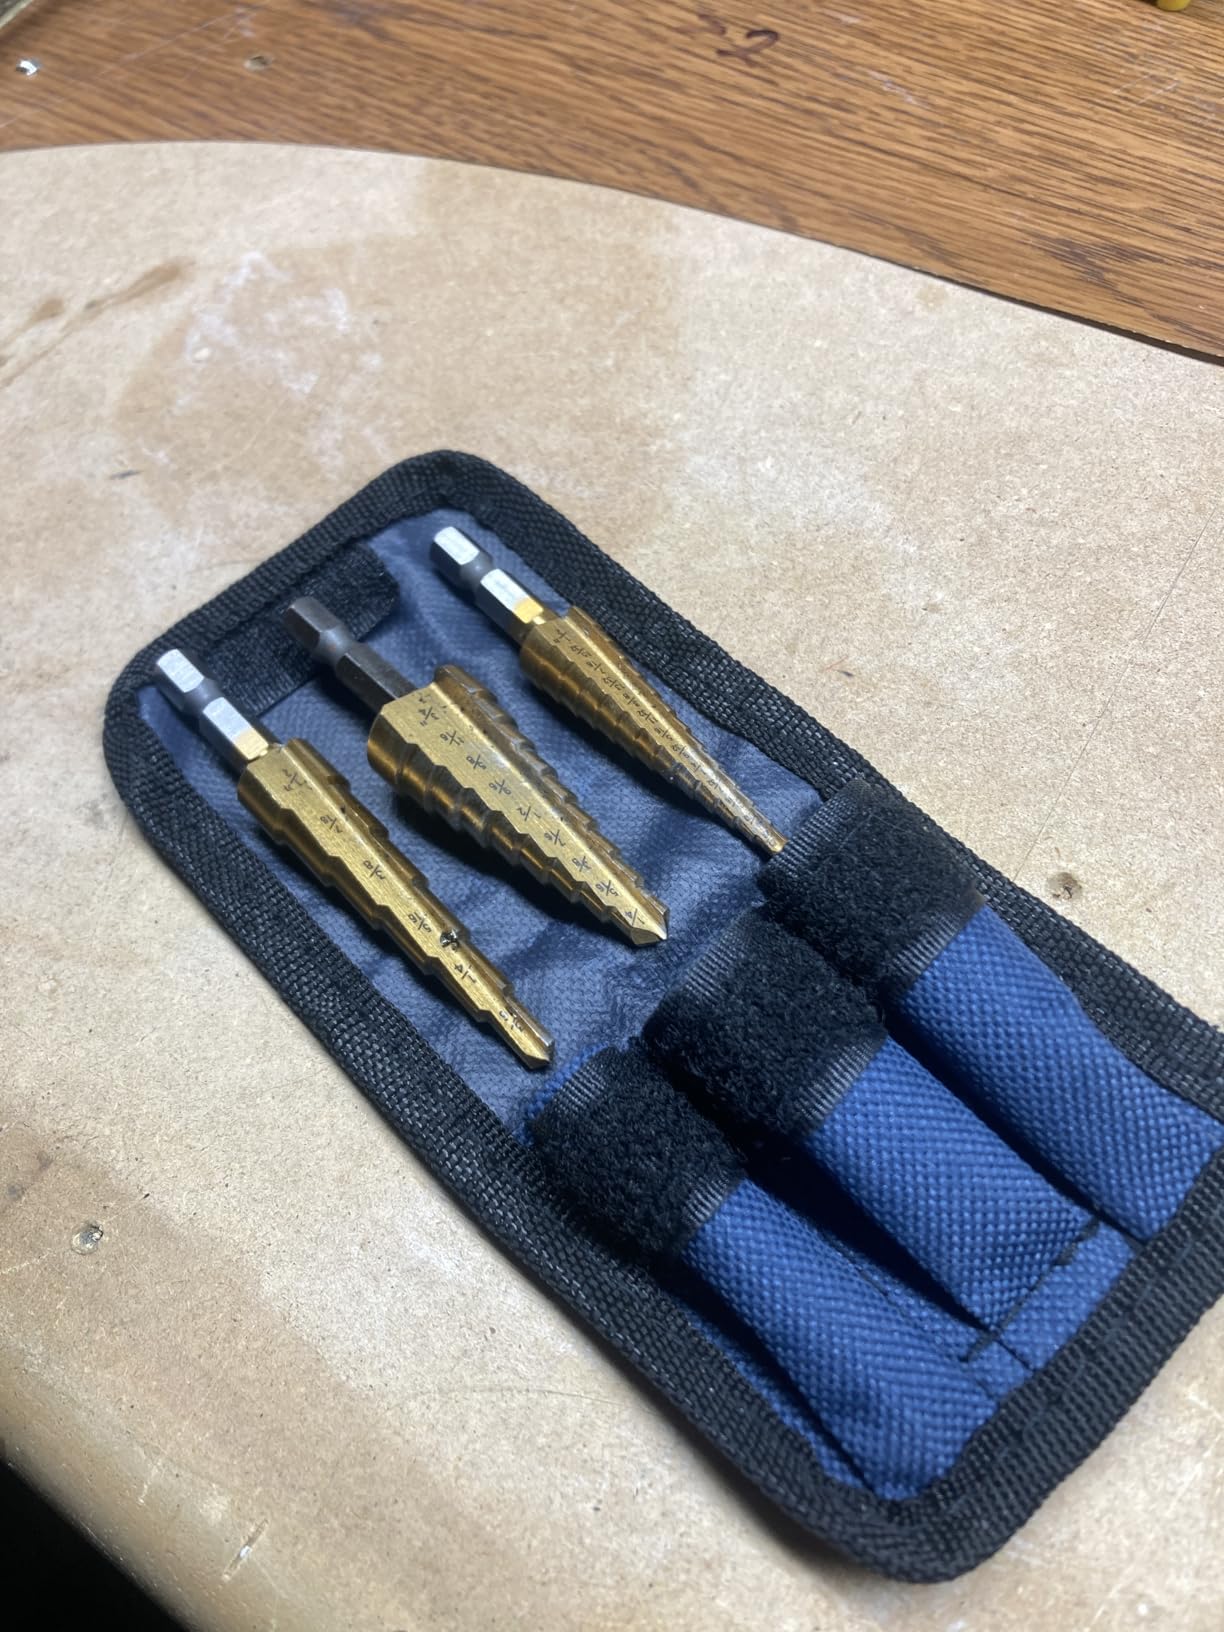
Deburr all holes with sandpaper after drilling. Rough edges create stress points and prevent proper sealing.
Material-specific speeds: Polyethylene kayaks need high speed with light pressure. Fiberglass requires slower speeds to prevent cracking. Thermoformed ABS needs medium speed with very gentle pressure.
Sealing and Waterproofing
This separates professional installations from amateur leaks. Take your time here.
Clean holes again with alcohol to remove any oils or debris. Apply sealant to screw threads before installation. Add sealant under the mounting base for a gasket effect. Install hardware finger-tight first, then tighten gradually until sealant squeezes out around the edges. Clean excess immediately with a rag dampened with alcohol. Allow 24 hours minimum cure time before water exposure.
I prefer Marine Goop for most polyethylene kayak applications. It bonds to plastic, stays flexible, and actually strengthens after water exposure. Avoid silicone – nothing adheres to it later if repairs are needed.
Common Drilling Mistakes to Avoid
Learn from my failures:
- Drilling too fast melts plastic into messy, weak holes
- Wrong angle creates oval holes that can't seal properly
- Skipping pilot holes lets bits wander off target
- Over-tightening cracks plastic and strips threads
- Wrong sealant guarantees future leaks
Remember: you can always enlarge a hole, but you can't shrink one. Start conservative and test fit before committing to final sizes.
Sealing Holes in Your Kayak: Products and Techniques
Keeping water out is the entire point. I've tested virtually every sealant marketed for marine use. Here's what actually works on kayaks:
Marine Goop: The Gold Standard
After sealing kayak holes for twenty years, Marine Goop remains my top recommendation. Last season, I sealed 12 mounting points on my Jackson Cuda with it – still completely dry after 100+ outings.
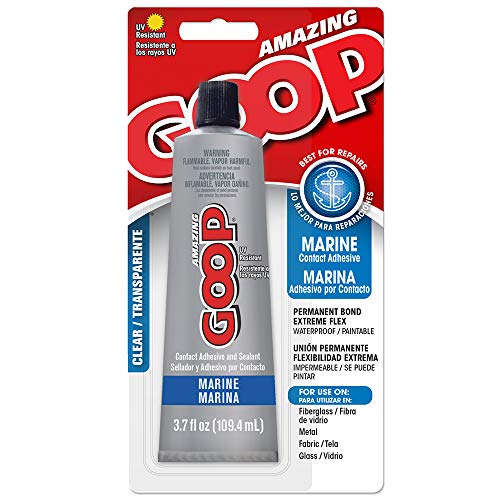
3.7 oz Eclectic Products 170011 Amazing Goop Marine Adhesive
3.7 oz marine adhesive
Bonds to polyethylene
Waterproof and UV resistant
Stays flexible after cure
+ Pros
- Excellent poly kayak adhesion
- Stays flexible - won't crack
- Bonds difficult materials
- Clear formula looks clean
- One tube handles many projects
- Cons
- Strong solvent smell
- 24-hour full cure required
- Messy if over-applied
- Tube dries if cap loose
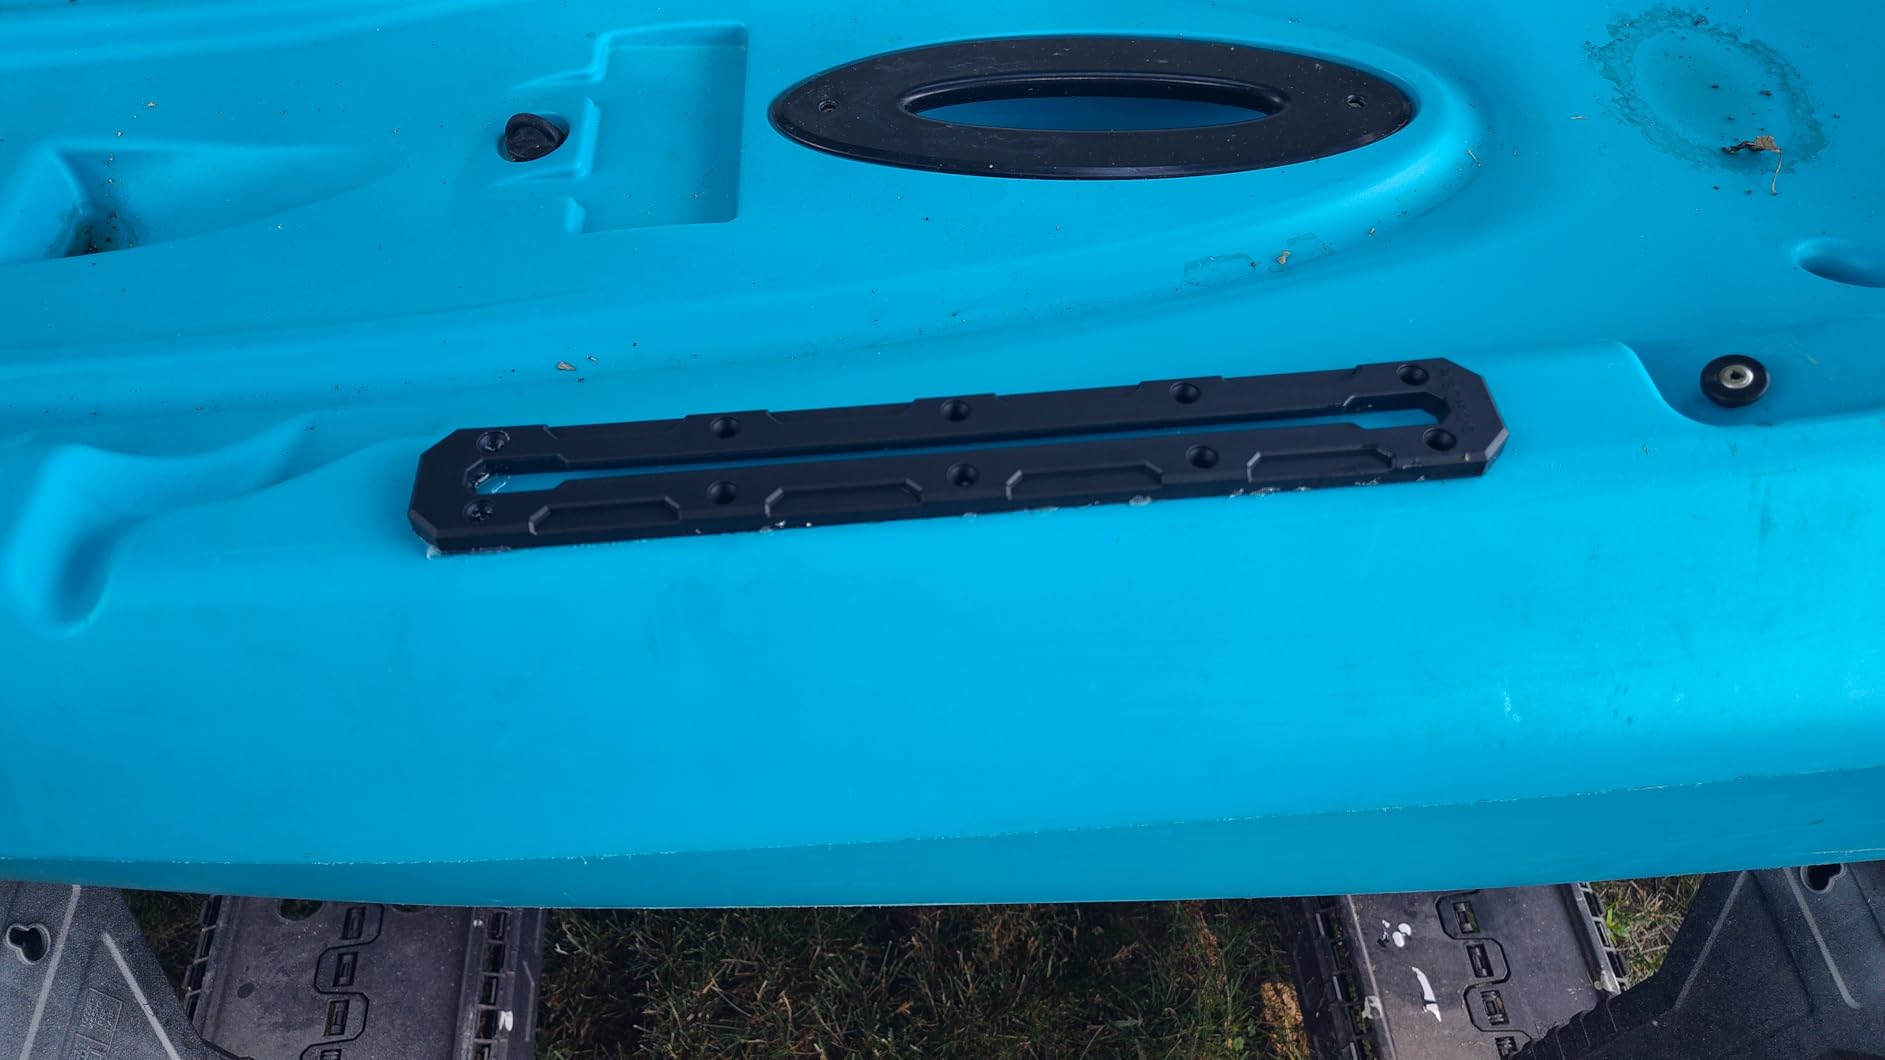
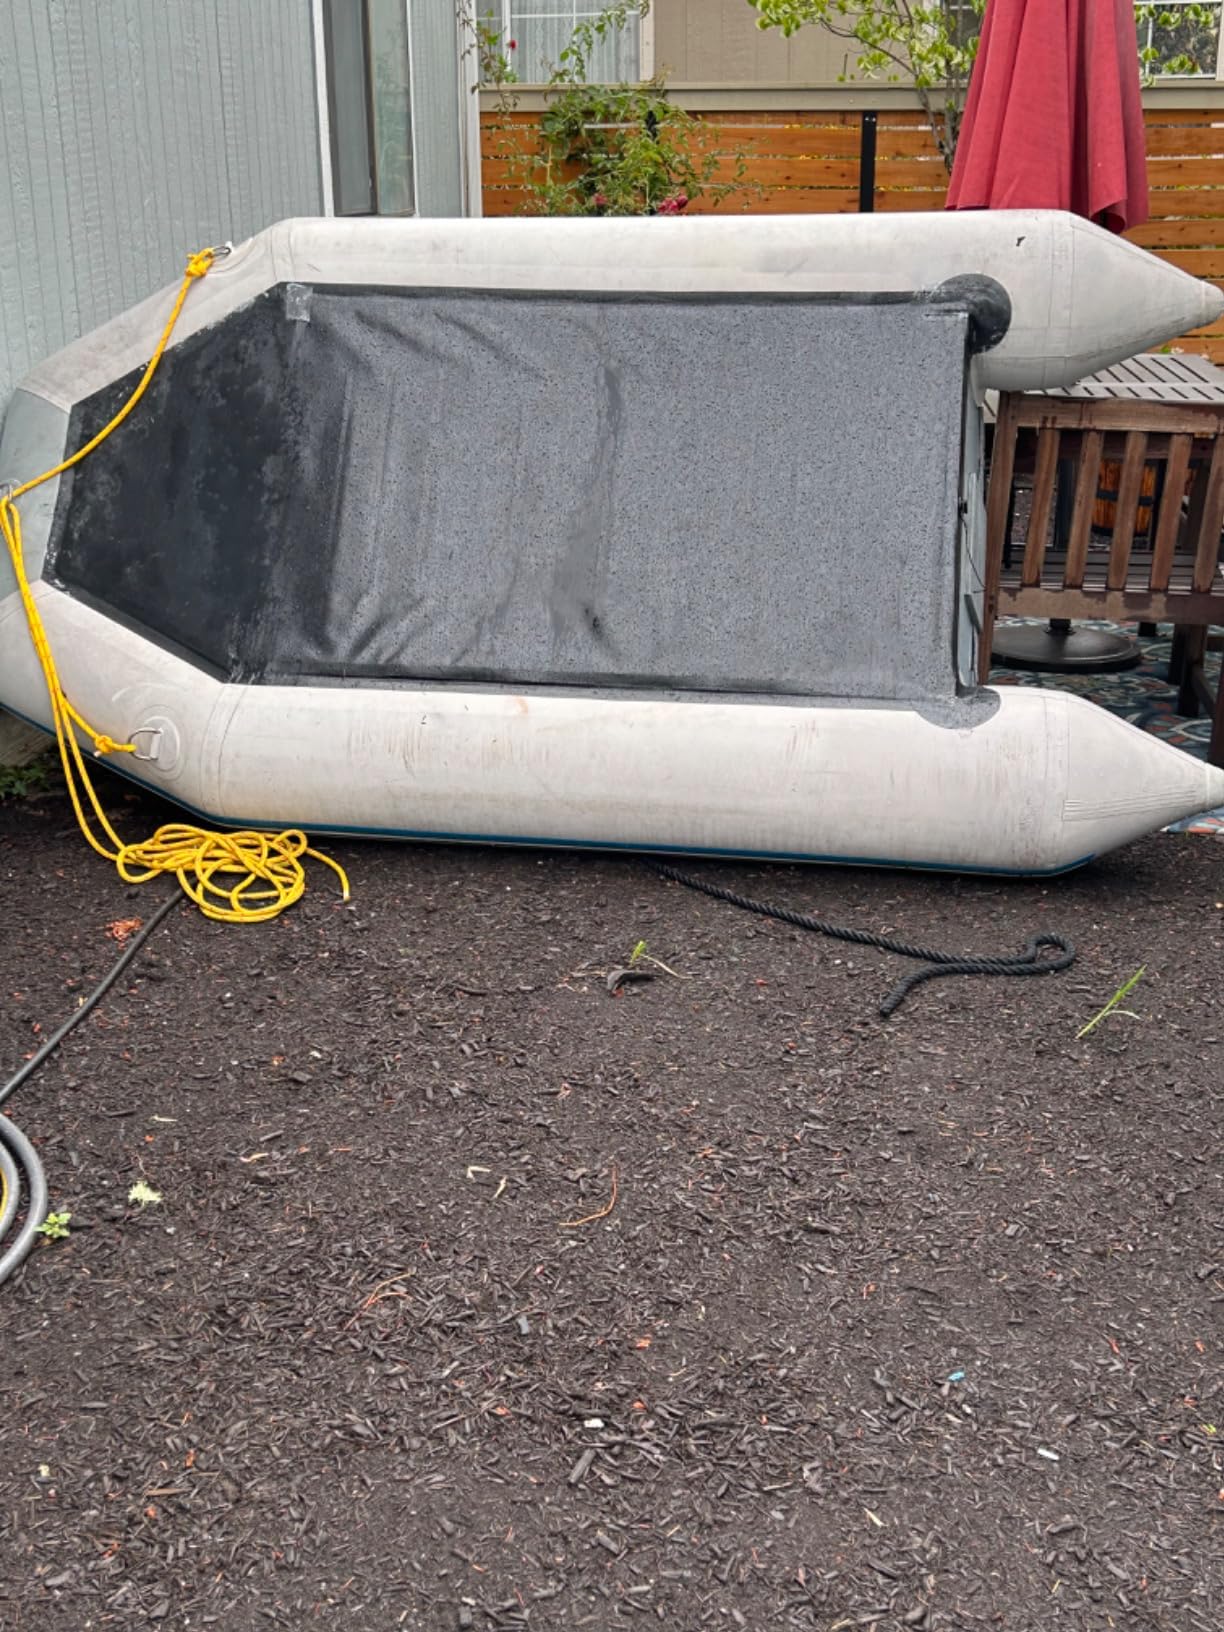
Marine Goop succeeds because it bonds to polyethylene – something most sealants can't do. It maintains flexibility through temperature extremes and actually strengthens after water exposure. The clear formula hides application imperfections, and one tube typically seals dozens of mounting points.
For best results, work between 60-80°F. Apply thin layers to both surfaces rather than globbing it on. Allow the full 48-hour cure time for maximum strength.
3M 4200: The Alternative
When Marine Goop isn't available, 3M 4200 is my backup choice. It offers slightly less adhesion to polyethylene but excellent overall sealing properties.

3M Marine Adhesive Sealant Fast Cure 4200FC, White, 295 mL Cartridge
10 oz polyurethane sealant
24-hour fast cure
Above/below waterline use
Semi-permanent bond
+ Pros
- Much faster cure than 5200
- Allows future disassembly
- Works above and below waterline
- Excellent for backing plates
- Trusted 3M quality
- Cons
- More expensive than silicone
- Requires caulking gun
- Larger quantity for small jobs
- Less flexible than Marine Goop
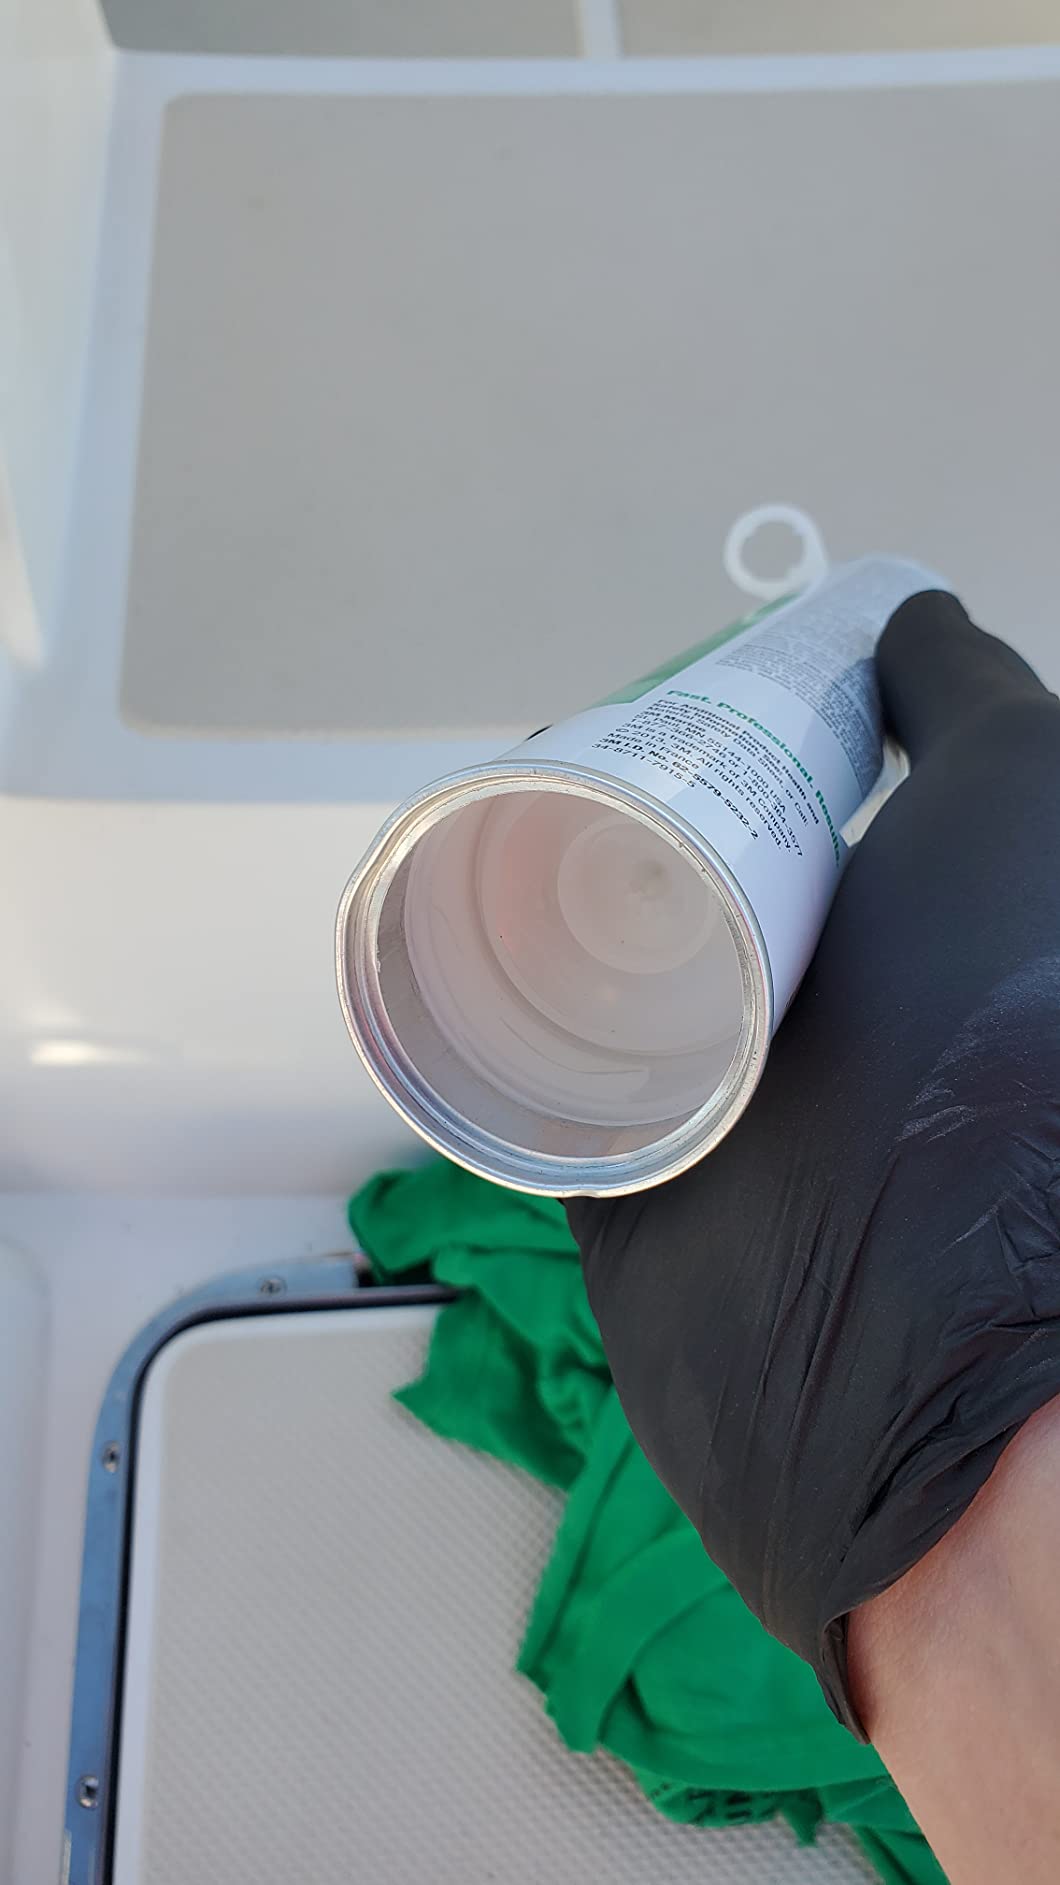
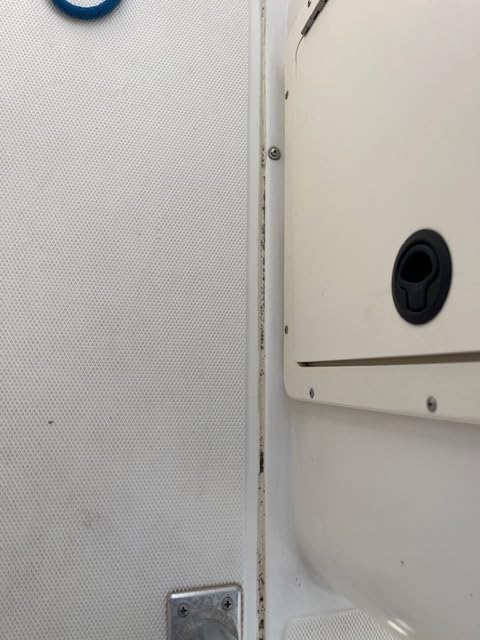
3M 4200 excels for fiberglass kayaks, below-waterline applications, permanent installations, and high-stress mounting points. The 24-hour cure beats waiting days for 5200 to set.
What NOT to Use?
Save yourself future headaches by avoiding these:
- Silicone caulk: Nothing sticks to it for future repairs
- 3M 5200: Too permanent – you'll never remove that accessory
- Plumber's putty: Washes out within weeks
- Hot glue: Seriously? It melts in summer heat
- Duct tape: Not even as a temporary fix
Fixing Unwanted or Leaking Holes
Mistakes happen. Here's how to recover:
For small holes under 1/4 inch: Clean thoroughly with alcohol, rough up with sandpaper, fill completely with Marine Goop, smooth with a popsicle stick, and allow full cure time.
For larger holes: Use stainless steel pan head bolts with rubber washers. Apply sealant liberally, tighten until rubber compresses fully, then trim excess bolt length.
Nuclear options for major mistakes include plastic welding for polyethylene kayaks, G/flex epoxy for fiberglass, or professional repair services for valuable boats.
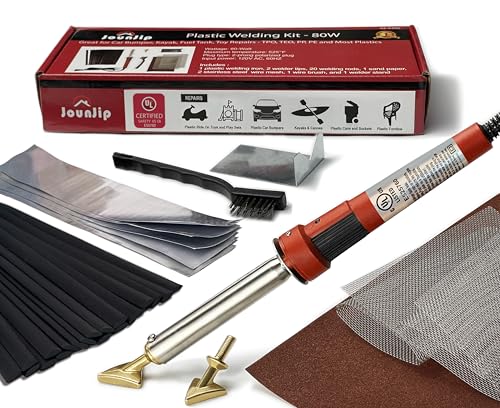
JOUNJIP Standard Plastic Welding Repair Kit UL-Certified Plastic Welder 80W
80W plastic welder
525°F max temperature
20 PolyPlaz rods included
Works on HDPE kayaks
+ Pros
- Permanently fixes mistakes
- Specifically for polyethylene
- UL certified for safety
- Complete repair kit included
- Cheaper than pro repairs
- Cons
- Requires practice
- Tip can bend under use
- Produces plastic fumes
- Not as strong as original
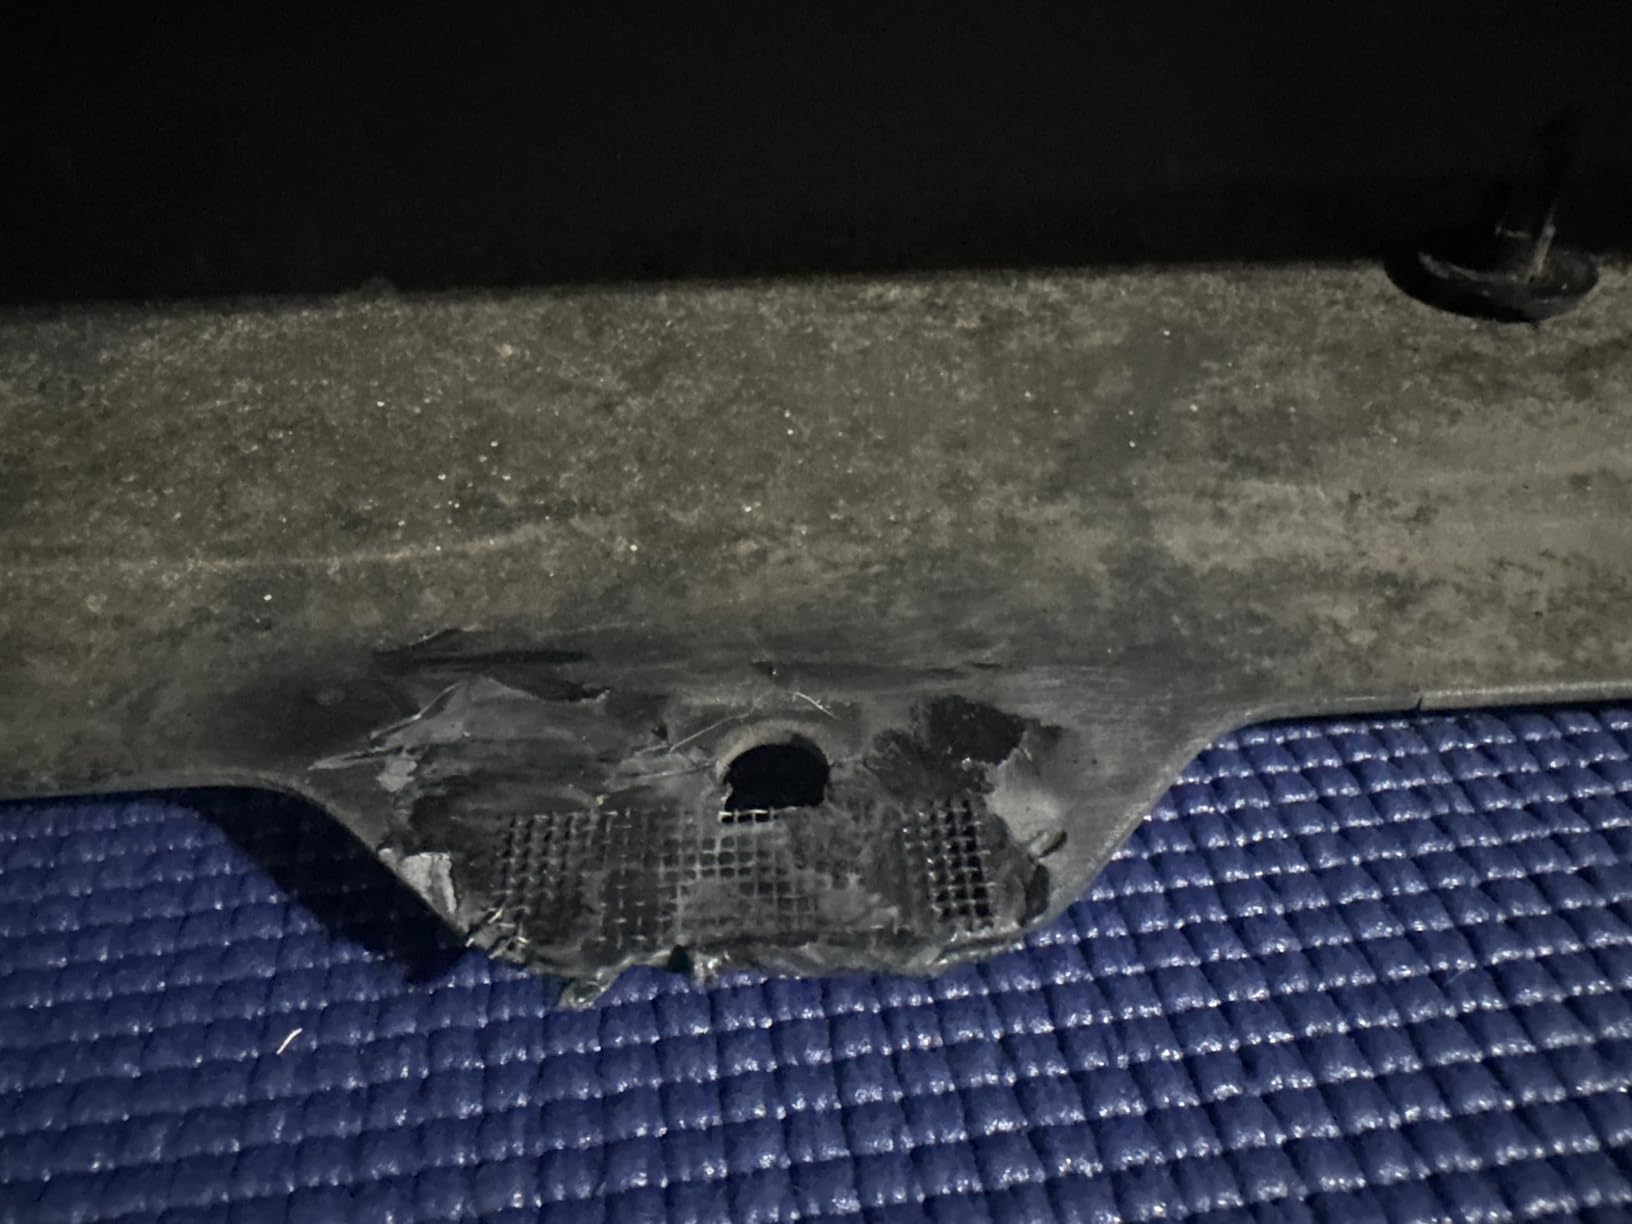
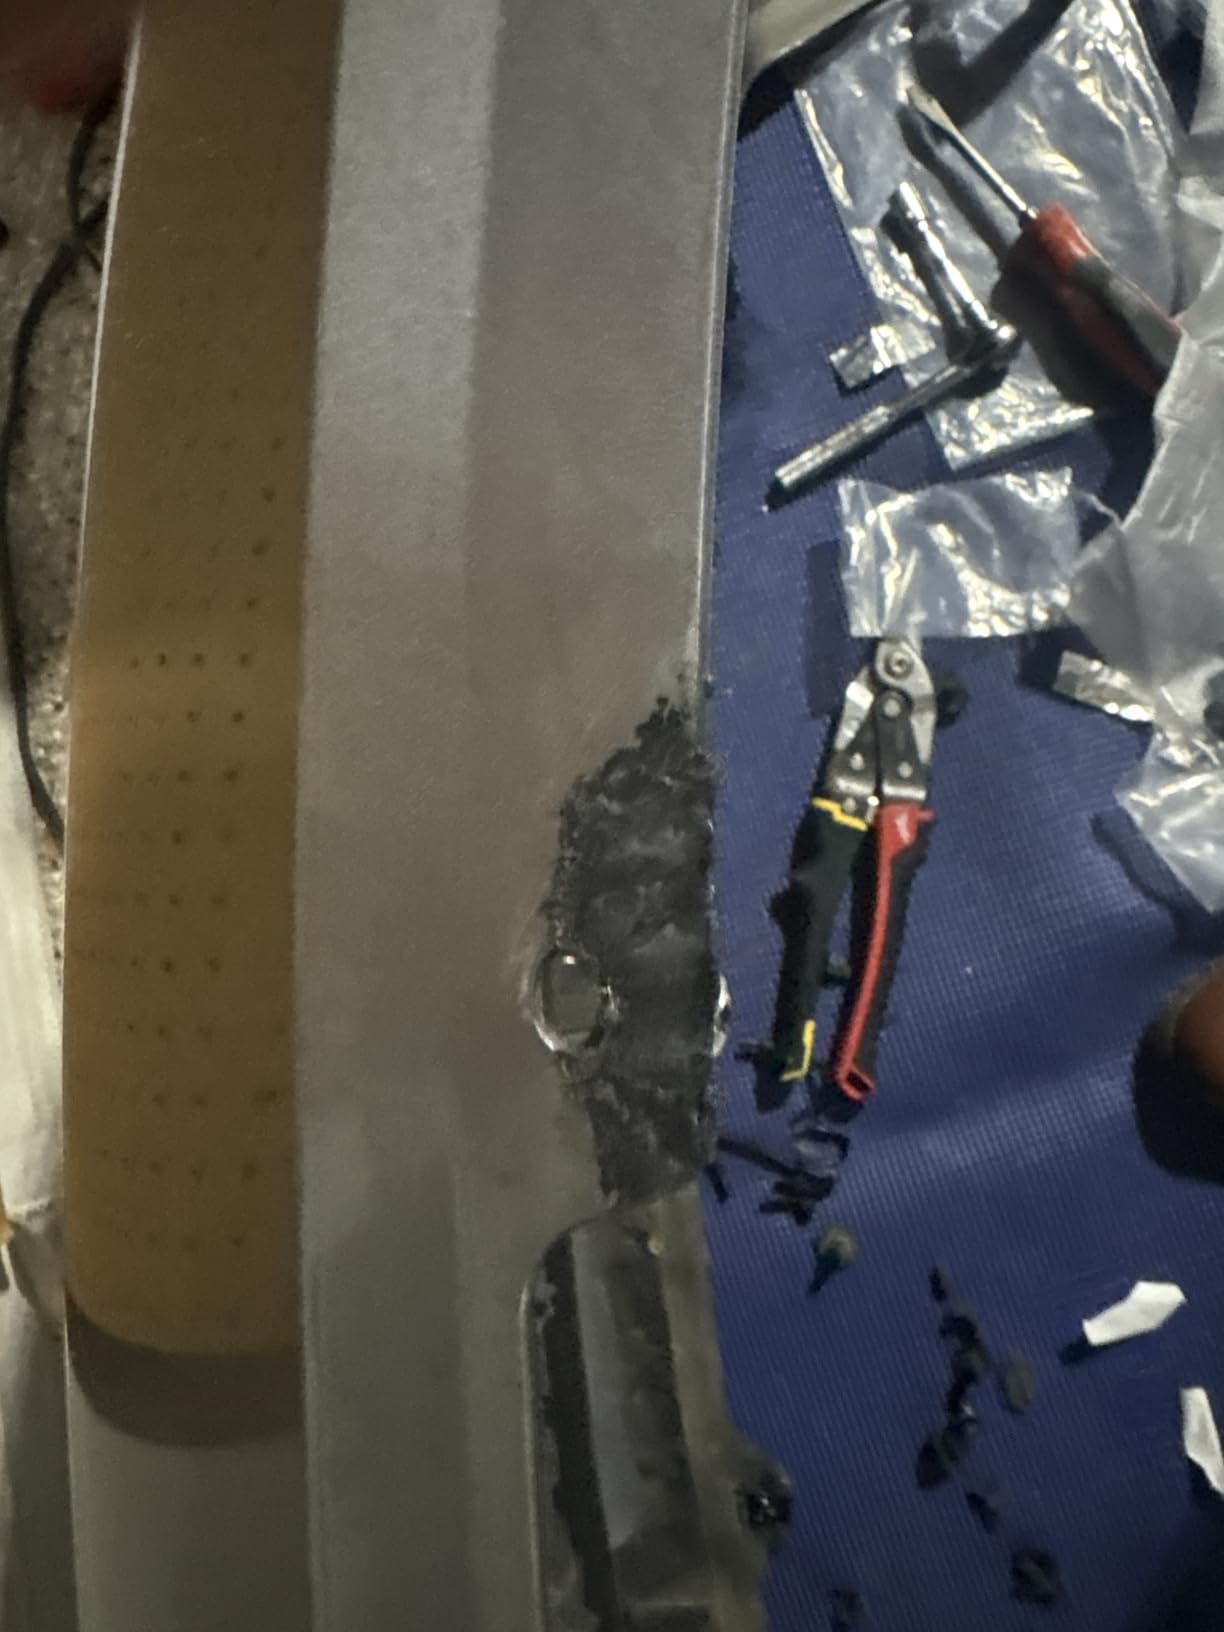
True story: I drilled a fish finder mount in completely the wrong location on my first fishing kayak. Fixed it with a stainless bolt and rubber washer that's held perfectly for five years. Now I call it my "spare drain plug."
Kayak-Specific Considerations
Not all kayaks respond equally to modifications. Understanding your specific boat helps you drill smarter.
Sit-on-Top vs Sit-Inside
Sit-on-Tops: The Modder's Dream
Sealed hulls make sit-on-tops forgiving of mistakes. Better fishing access, scupper holes providing reference points, and tank wells ready for milk crate setups make these the most popular platforms for modification. My Wilderness Systems Tarpon has 22 drilled modifications and still floats like new.
Sit-Insides: Proceed Carefully
Limited hull interior access complicates mounting. Cockpit modifications must clear paddle strokes. Bulkhead locations are critical to maintain structural integrity. Consider deck-only modifications when possible.
Understanding Your Kayak's Construction
Rotomolded Polyethylene (Most Common)
Straightforward drilling, self-healing minor chips, variable thickness from 3/16" to 1/2", and double-wall areas providing extra strength. This is the most forgiving material for modifications.
Thermoformed ABS
More brittle than polyethylene, requiring sharper bits and gentler pressure. Can crack if overheated during drilling. Always pre-drill holes – never force bits through.
Composite (Fiberglass/Carbon)
Demands special drill bits and careful technique to prevent gel coat chipping. Consider professional installation for expensive composite boats. Much less forgiving of mistakes.
Weight Capacity and Balance
Every modification affects performance. My first kayak stability disaster came from poor weight distribution after adding accessories.
Calculate total added weight: trolling motor plus battery equals 30-40 pounds, full electronics package adds 10-15 pounds, fishing gear contributes 20-30 pounds, and milk crate setups weigh 15-20 pounds. That adds up quickly.
Keep heavy items low and centered. Distribute weight evenly front-to-back. Test stability in shallow water before heading to fishing spots. Adjust seat position if needed to maintain proper trim.
Popular Models and Their Quirks
Hobie Pro Angler: Pre-drilled for most accessories, thick hull handles anything you throw at it.
Old Town Topwater: Thin deck areas need backing plates, but great track mounting surfaces.
Perception Pescador: Excellent for modifications but watch the thin spots near handles.
Wilderness Systems Ride: Double-wall construction perfect for heavy accessories.
Jackson Coosa: Designed for customization, just avoid drilling into interior foam areas.
Essential Accessories Worth Drilling For
Certain modifications prove their value trip after trip. Here's what's genuinely worth the holes:
Gear Tracks: Maximum Flexibility
The best investment you'll make for kayak customization. Four to eight drilled holes give you endless mounting options. I run 24-inch GearTrac sections on both sides of my fishing kayak.
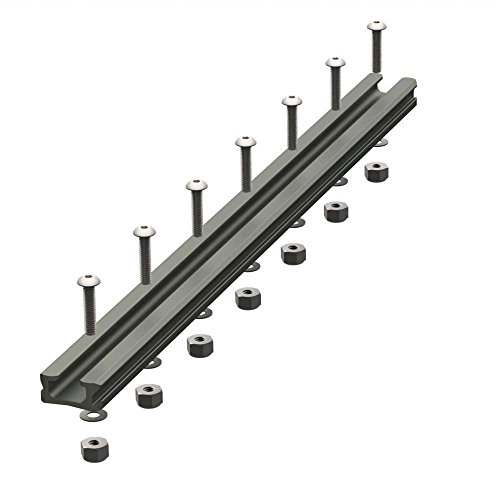
+ Pros
- Industry standard compatibility
- Drill once for unlimited options
- Lightweight precision aluminum
- Lifetime guarantee
- Works with rod holders and electronics
- Cons
- QC issues with hardware occasionally
- Needs flat mounting surface
- Ends may need angle cuts
- Not as heavy-duty as GT175
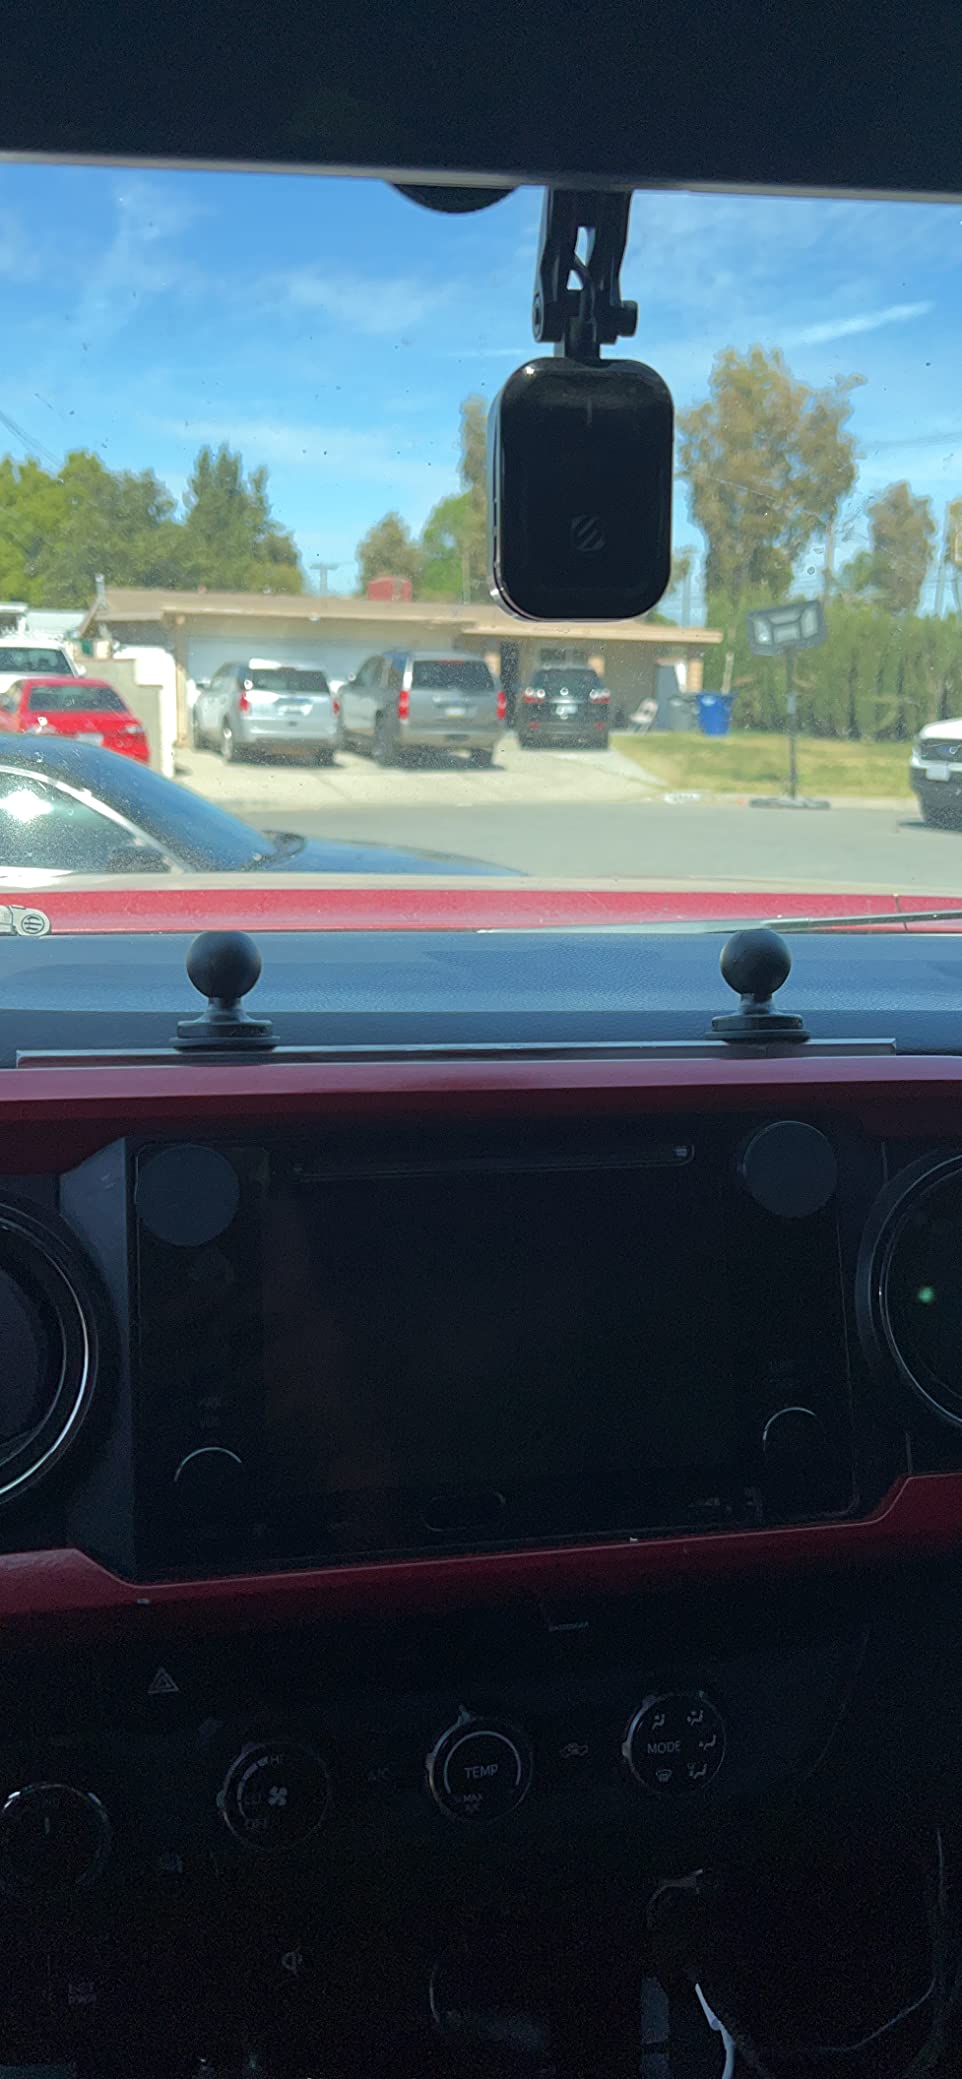
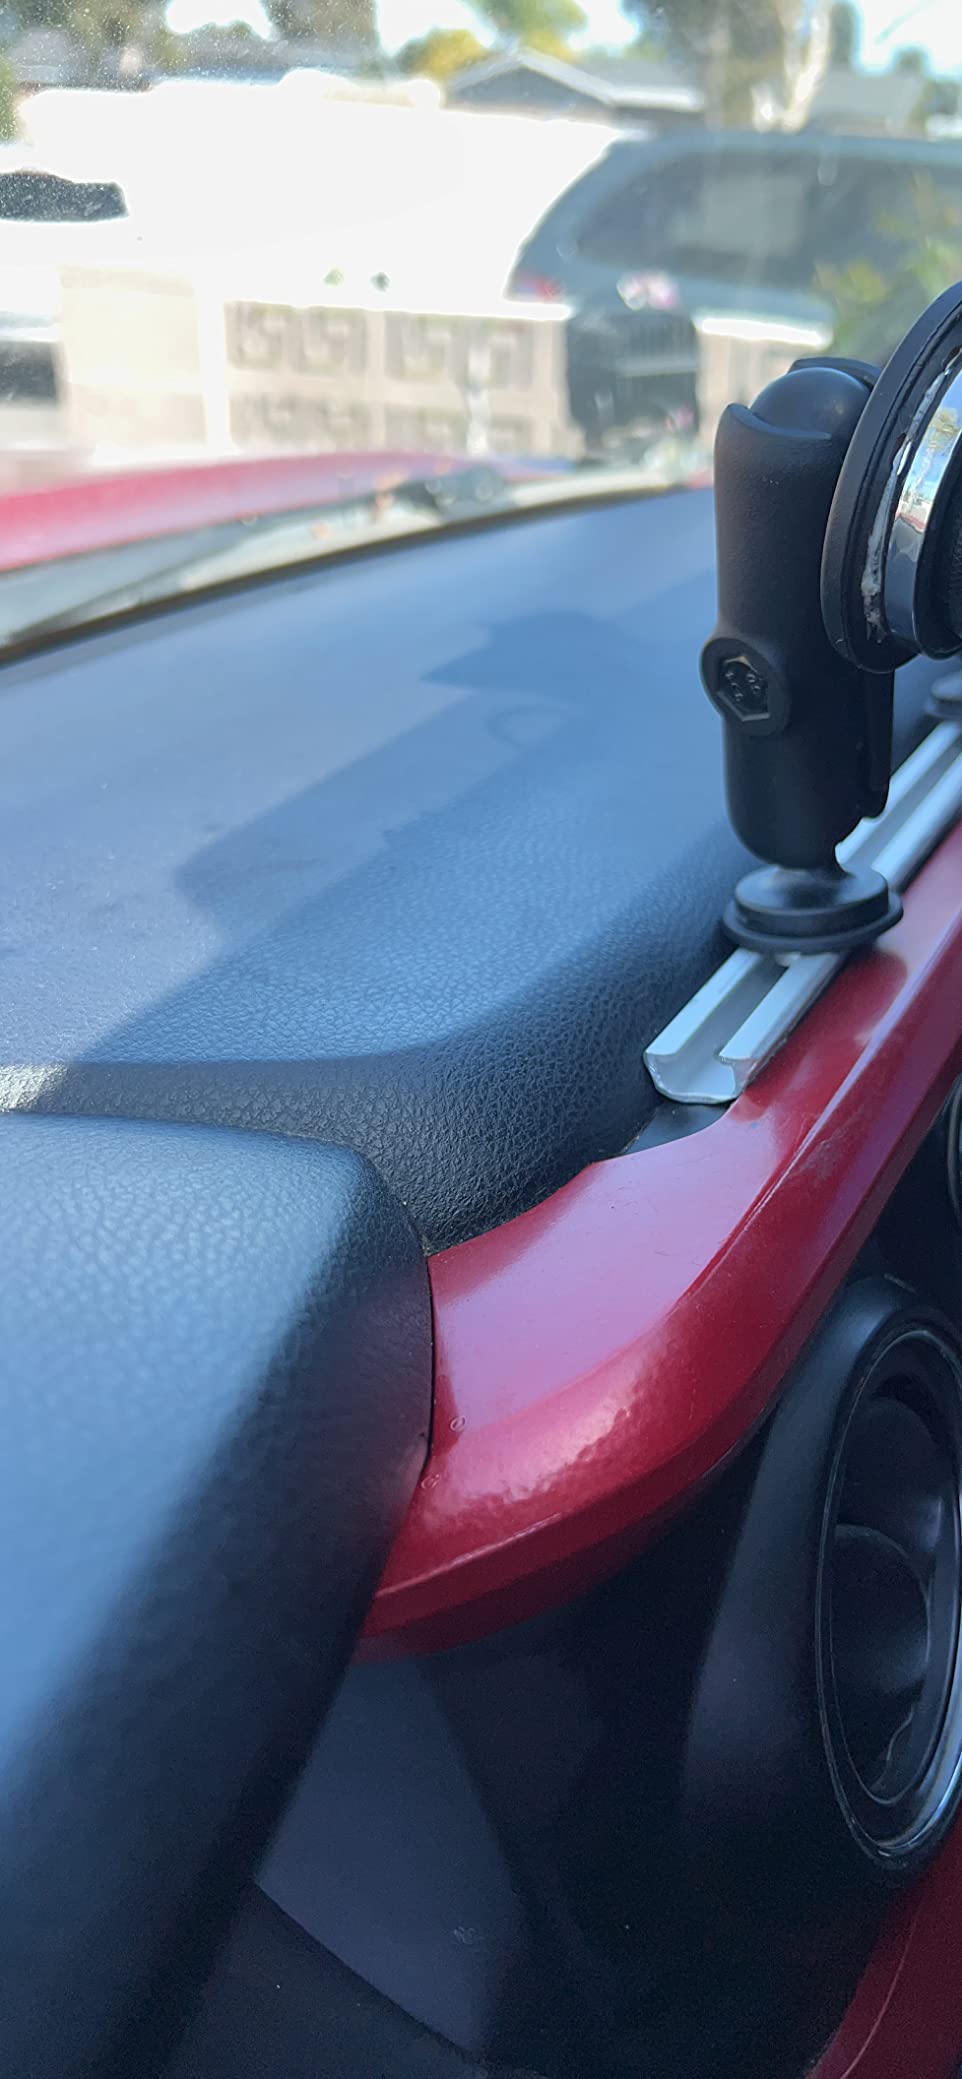
Use backing plates for tracks over 12 inches. Pre-load tracks with T-bolts before mounting. Leave at least 6 inches between parallel tracks for paddle clearance.
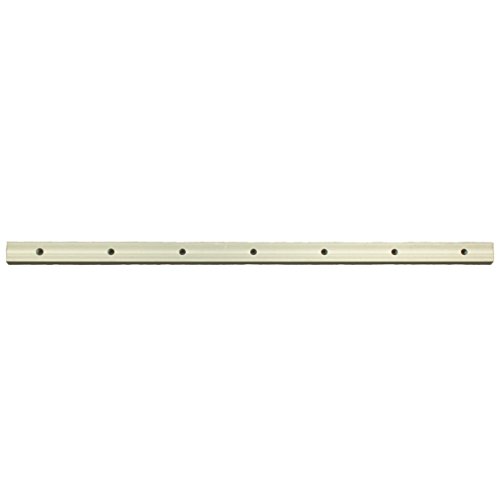
YakAttack Fullback Backing Plate for GT90 Series GearTrac, 12"
12
+ Pros
- Prevents track flexing
- Solid platform for heavy gear
- Pre-threaded for easy install
- Anodized aluminum resists corrosion
- Essential for rod holders
- Cons
- Requires hull access
- Some threading QC issues
- Pricey for a plate
- Not for curved surfaces
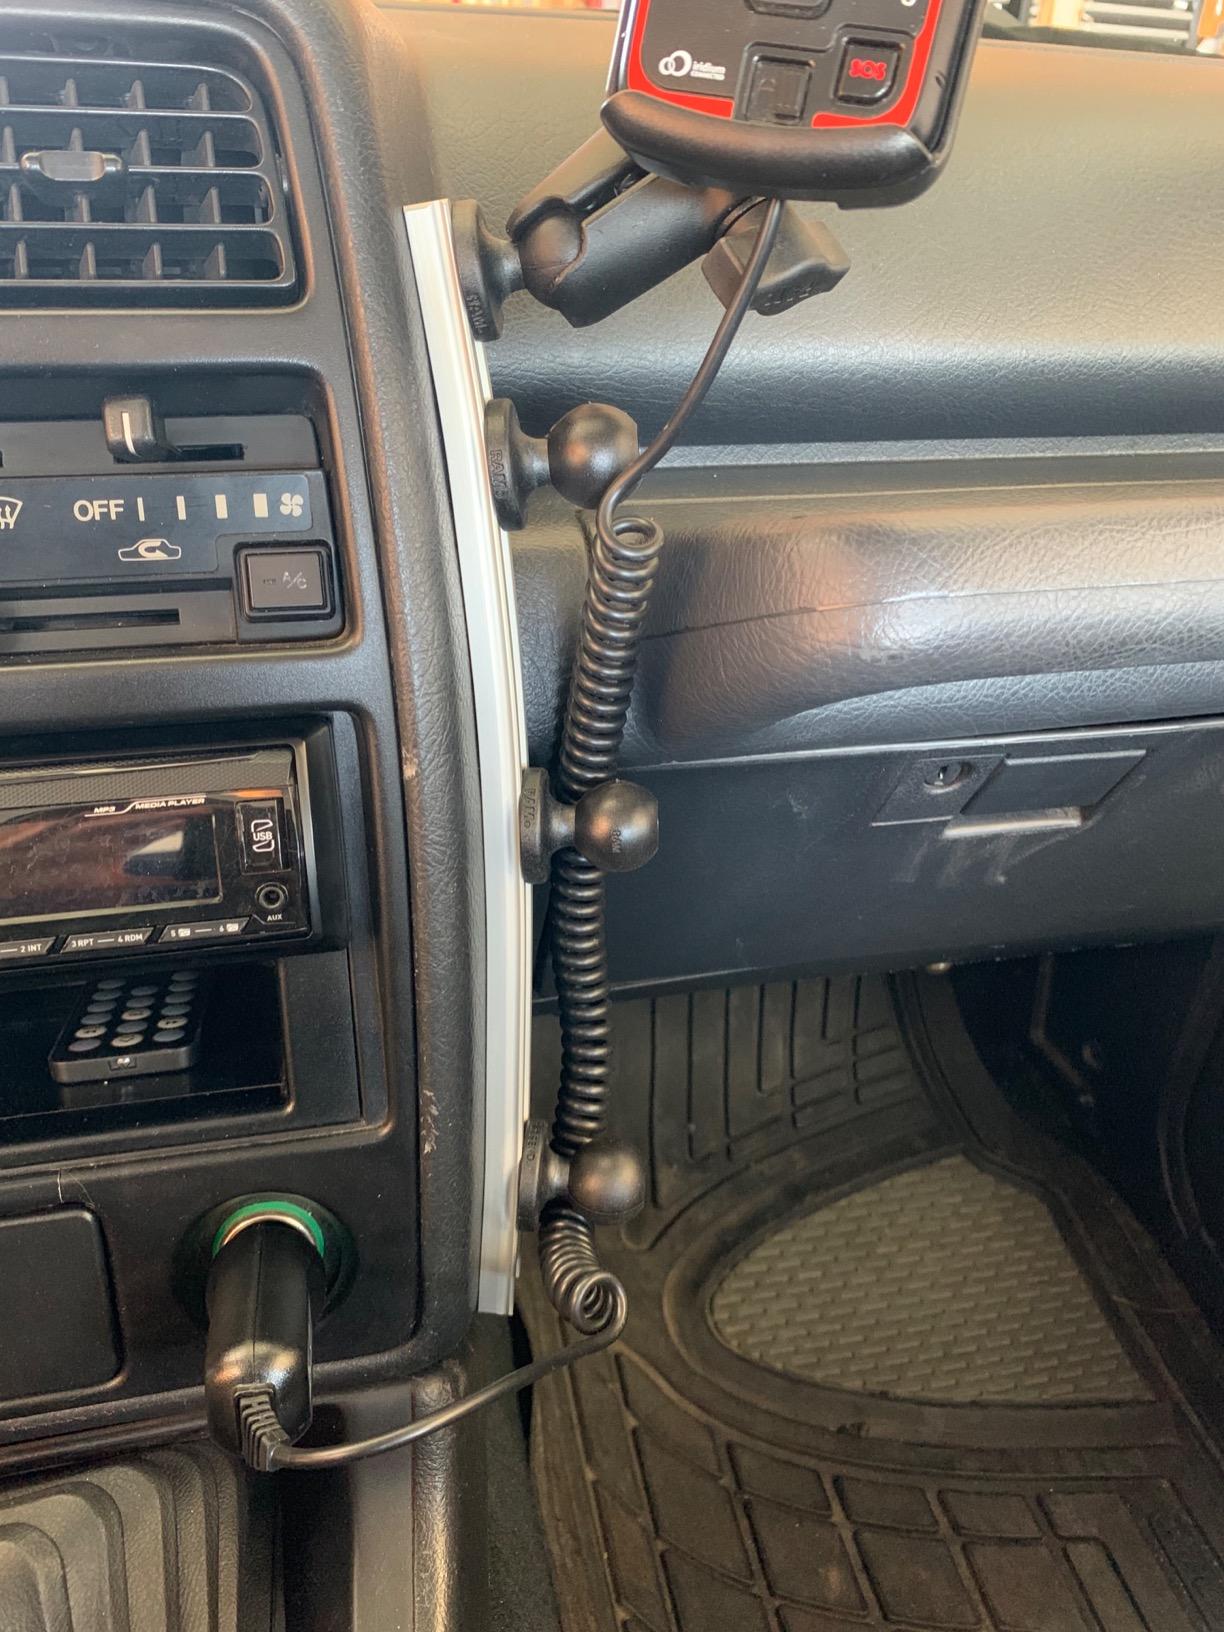
Rod Holders That Actually Work
Forget clamp-on solutions that fail when you need them most. Properly mounted flush rod holders transform your fishing experience.
Proven options include Scotty #241 for adjustability, YakAttack Zooka tubes for spinning rods, flush mounts for trolling, and RAM tube holders for heavy gear. Each serves different fishing styles.
Electronics Mounting
Your fish finder is useless if you can't read the screen or if it disappears overboard mid-trip. Secure mounting matters.
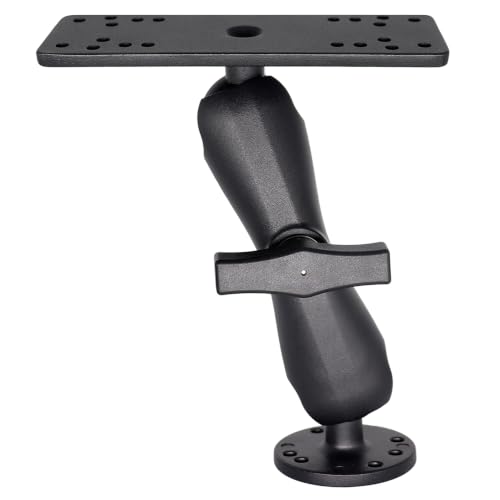
+ Pros
- Rock-solid for large units
- All-metal construction
- Infinite positioning options
- Compatible with major brands
- Holds in rough water
- Cons
- Higher price than plastic
- Requires 4 mounting holes
- Larger ball takes space
- Arm may be too long for some
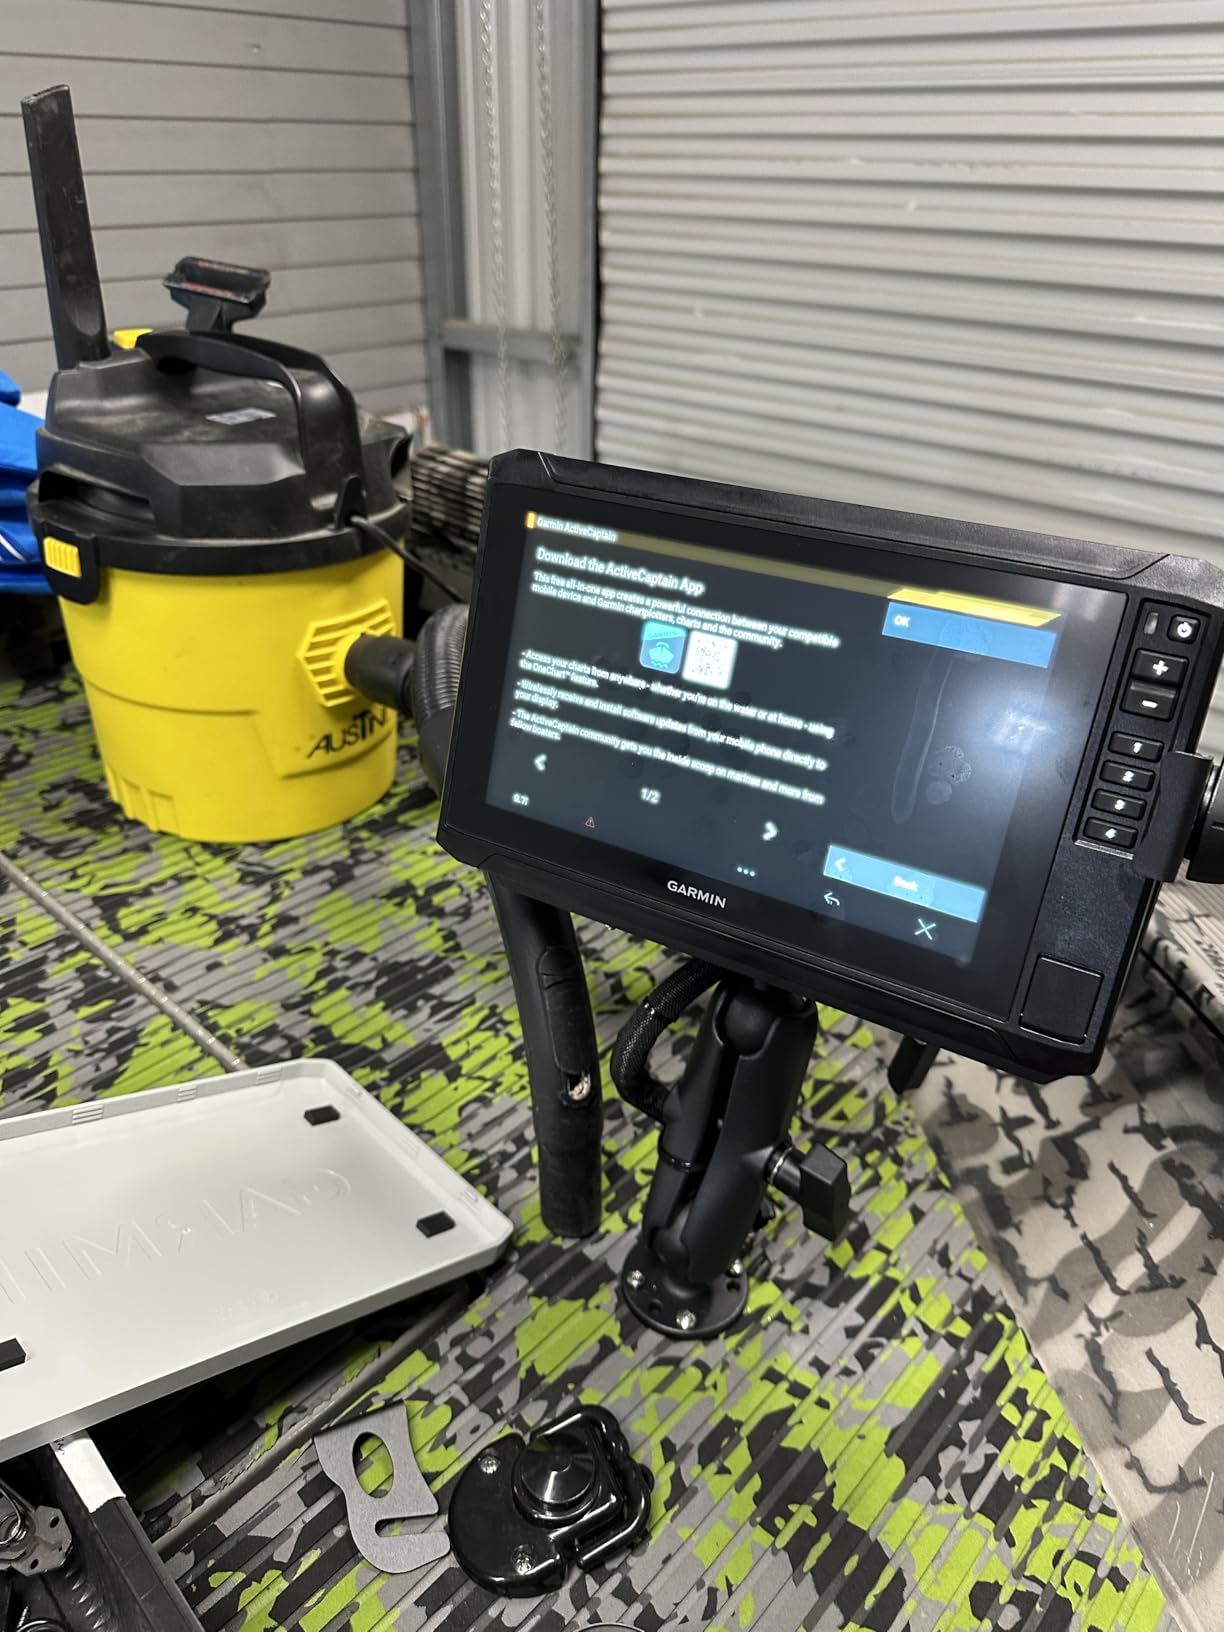
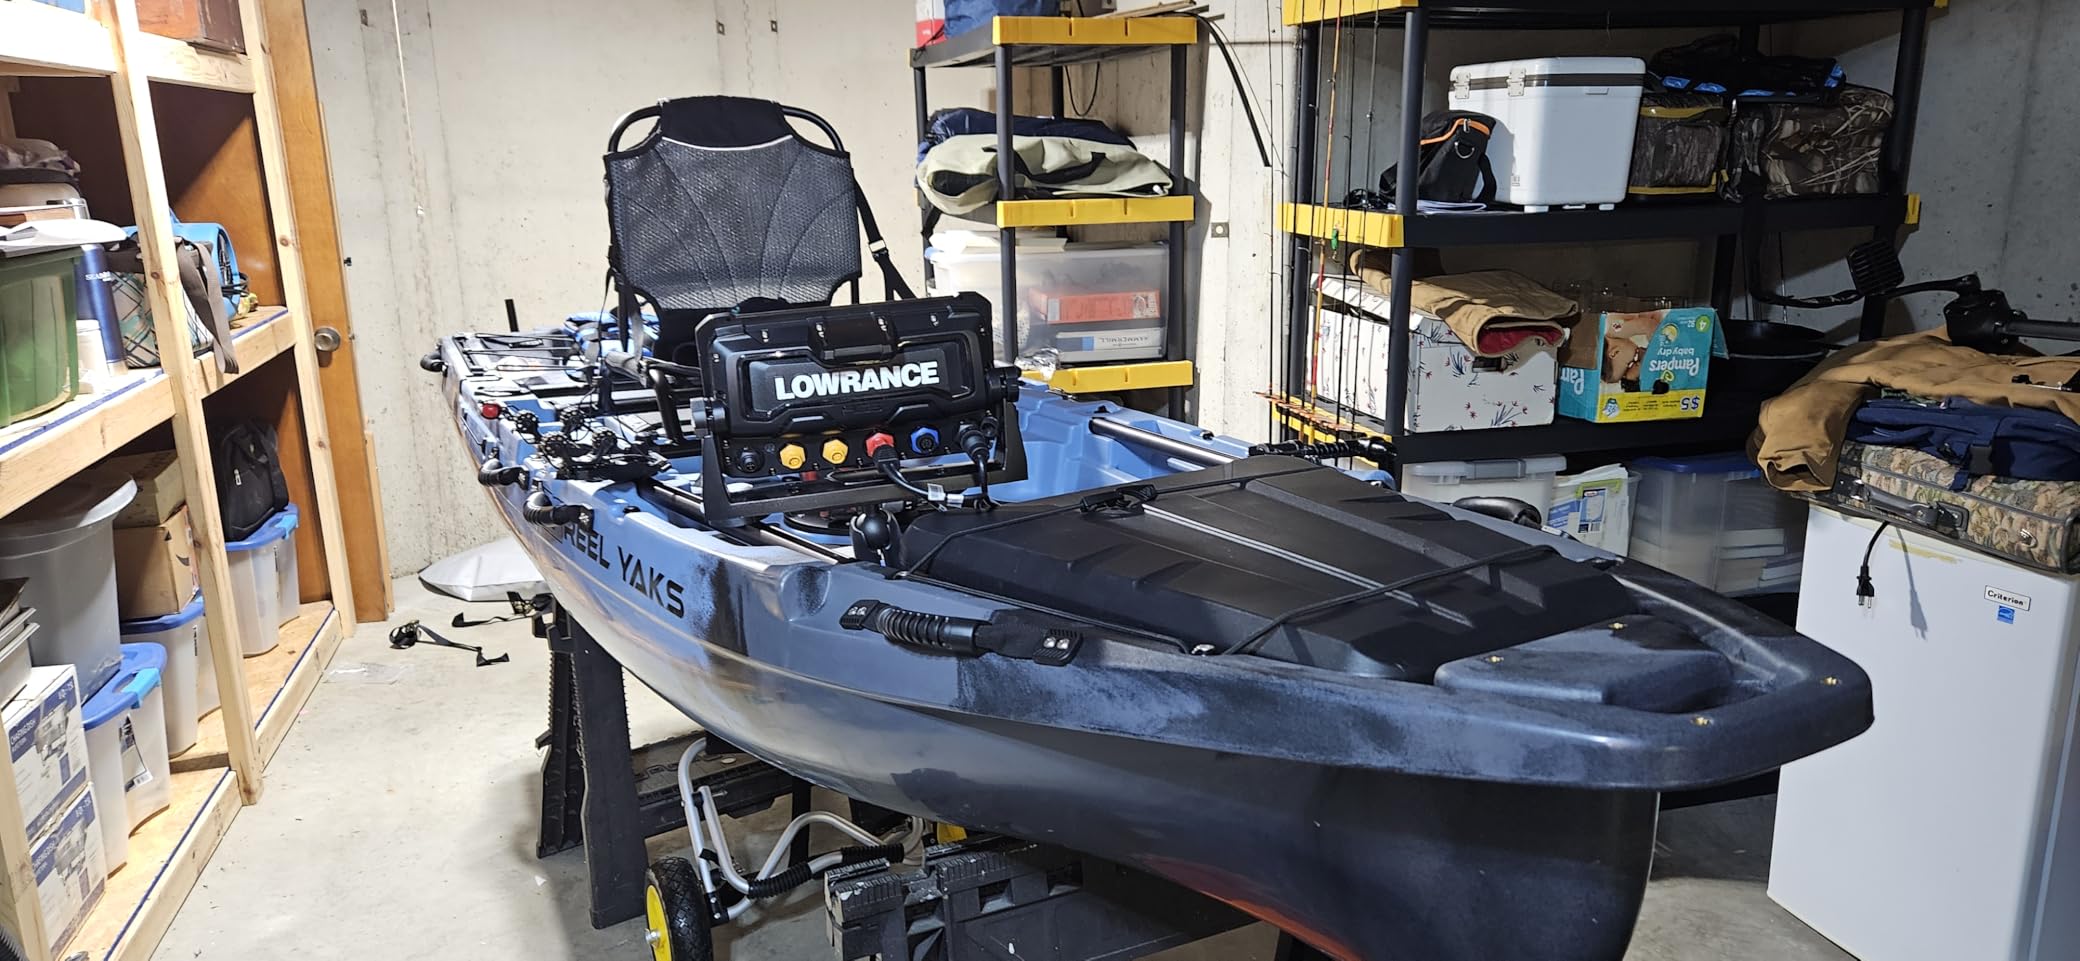
Smart mounting means using adjustable ball systems, dedicated transducer mounts rather than suction cups, proper cable management tracks, and waterproof switch panel locations. Plan your entire electronics package before drilling anything.
Safety Gear Mounting Points
Because swimming back to shore is nobody's idea of a good day on the water:
- Flag pole mounts (often legally required)
- Bilge pump holders for emergency water removal
- Knife mounts within easy reach
- Whistle or horn attachment points
- Light mounting for night fishing excursions
Storage Solutions
Organized storage beats cargo chaos every time:
- Milk crate attachment points (minimum 4 for security)
- Tackle box rails for quick access
- Dry bag D-rings for securing essentials
- Bungee cord anchors for flexible storage
- Net holder clips for landing gear
DIY vs Professional Installation
Sometimes it pays to call in the pros. Here's how to decide which approach fits your situation.
When DIY Makes Sense?
Handle the installation yourself when mounting basic accessories, working with polyethylene kayaks, staying above the waterline, owning proper tools, and having time to work carefully. DIY builds skills and saves money.
Typical DIY costs: drill and bits ($50-100), marine sealant ($15), basic hardware ($20-40), plus your time. Total around $85-155 for a basic setup.
When to Go Professional?
Call the pros for expensive kayaks over $2,000, composite construction boats, major modifications involving multiple systems, warranty concerns, or complex electronics packages requiring clean wiring.
Professional pricing: basic accessory install runs $25-50 per item, full fishing setups cost $200-400, electronics packages range $300-500, and custom work bills at $75-100 per hour.
Finding Qualified Installers
Not all "professionals" deliver professional results. Check local kayak shops first. Ask to see installation photos from previous work. Verify insurance coverage. Get written quotes. Ask about warranty on their work.
Red flags include anyone who doesn't mention sealant, suggests inappropriate hardware, or can't explain their installation process. Quality installers will discuss your specific kayak model and usage patterns.
Maintaining Your Modifications
Drilling holes is just the beginning. Proper maintenance keeps everything watertight and functional for years.
Annual Inspection Checklist
Every spring, spend an hour checking all screws for tightness, sealant for cracks or gaps, hardware for corrosion, mounting plates for stress cracks, and accessories for wear. Catching problems early prevents water intrusion.
When to Re-Seal?
Watch for visible gaps around hardware, slight water seepage during use, sealant that has hardened or cracked, loose-feeling hardware, or simply the passage of three or more years since installation.
Re-sealing process: Remove hardware completely. Clean old sealant thoroughly – acetone works well. Inspect holes for damage or enlargement. Apply fresh sealant generously. Reinstall and re-tighten properly. Allow full cure before water exposure.
Hardware Replacement Schedule
Even stainless steel has service limits:
- Freshwater use: Inspect annually, replace every 5 years
- Saltwater use: Inspect every trip, replace every 2-3 years
- Brackish water: Falls between freshwater and saltwater schedules
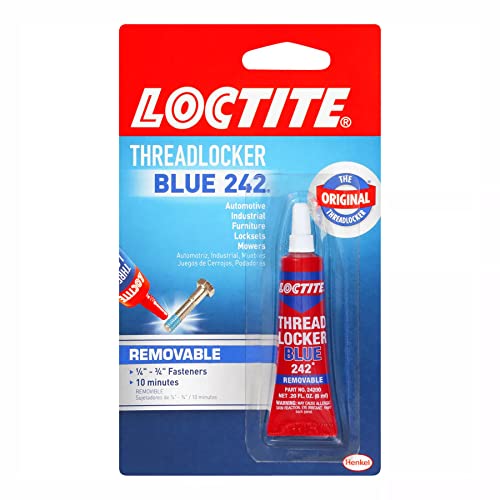
Loctite Threadlocker Blue 242 - Removable Thread Lock Glue for Nuts, Bolts, & Fasteners, Medium...
6ml medium strength
Prevents loosening from vibration
Removable with hand tools
Sets in 10 minutes
+ Pros
- Excellent value for quantity
- Industry standard for 40+ years
- No heat needed for removal
- Water resistant for marine use
- Prevents backing out
- Cons
- Small 6ml tube size
- 24-hour full cure
- Metal fasteners only
- Blue color may show
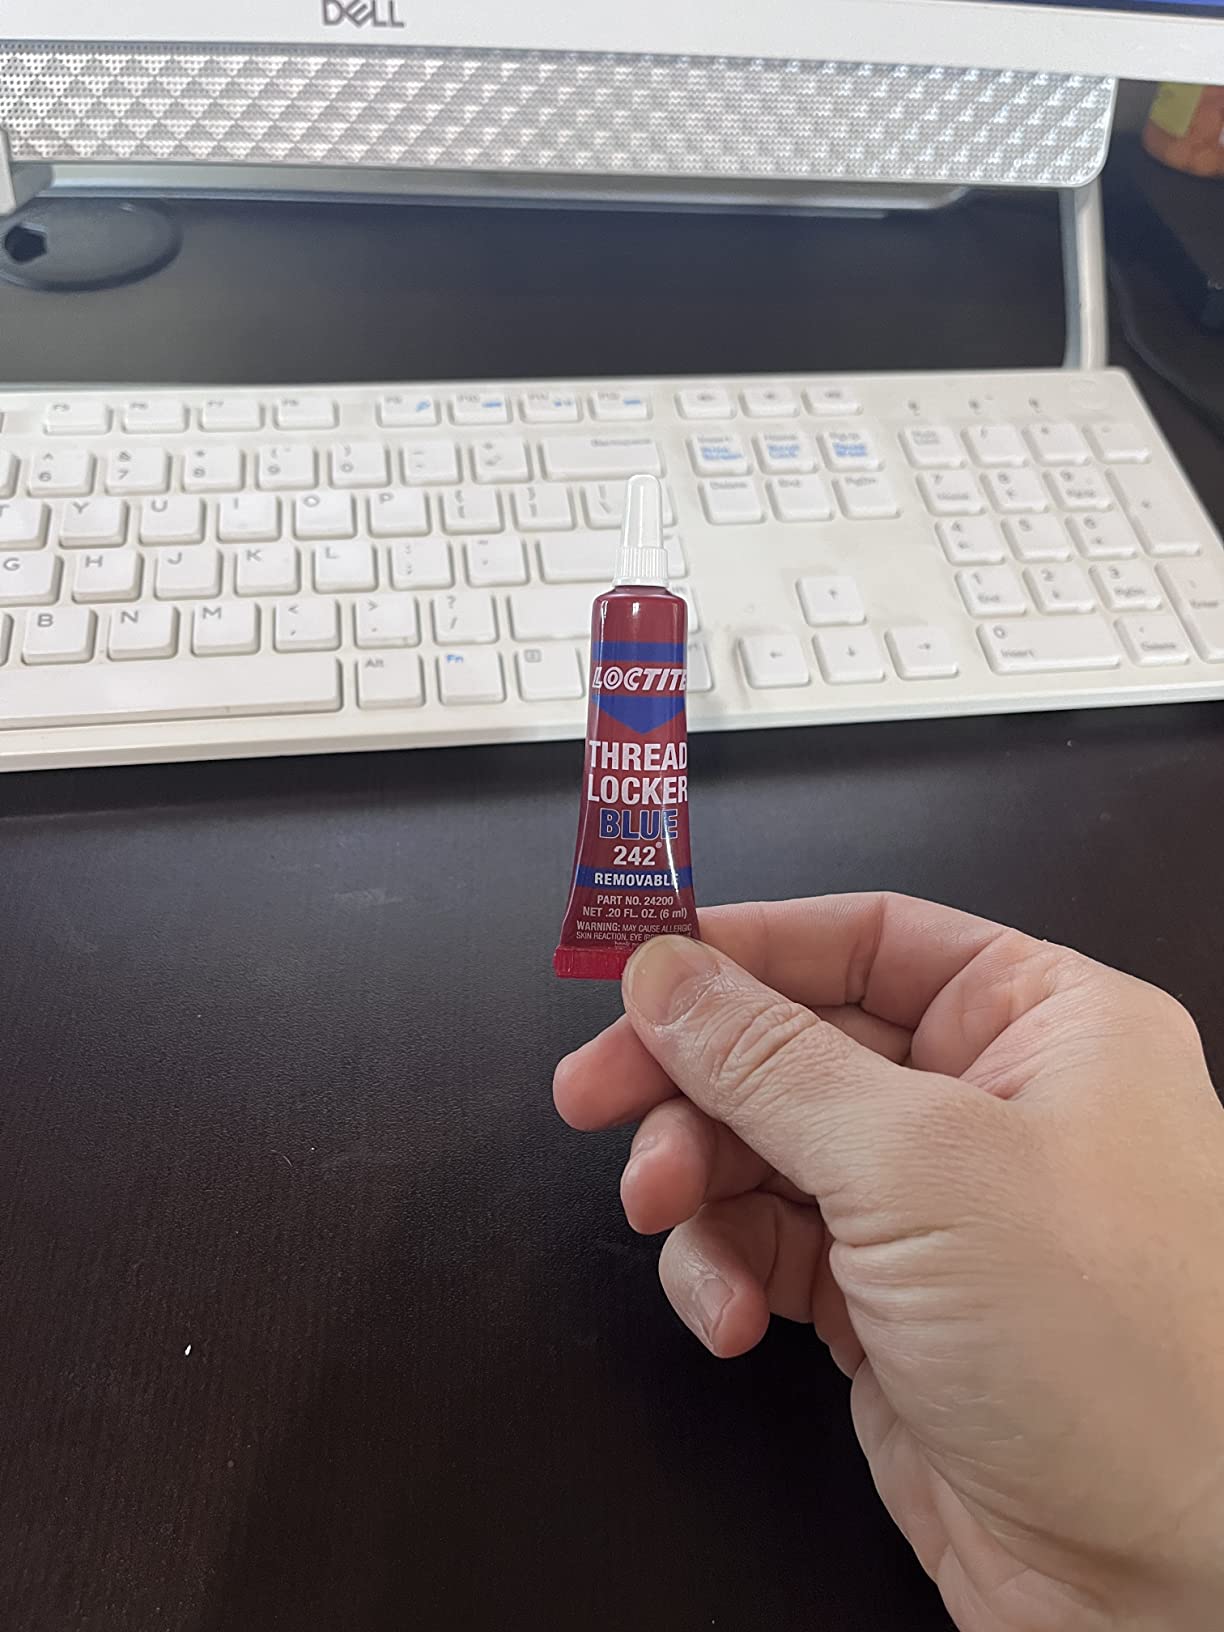
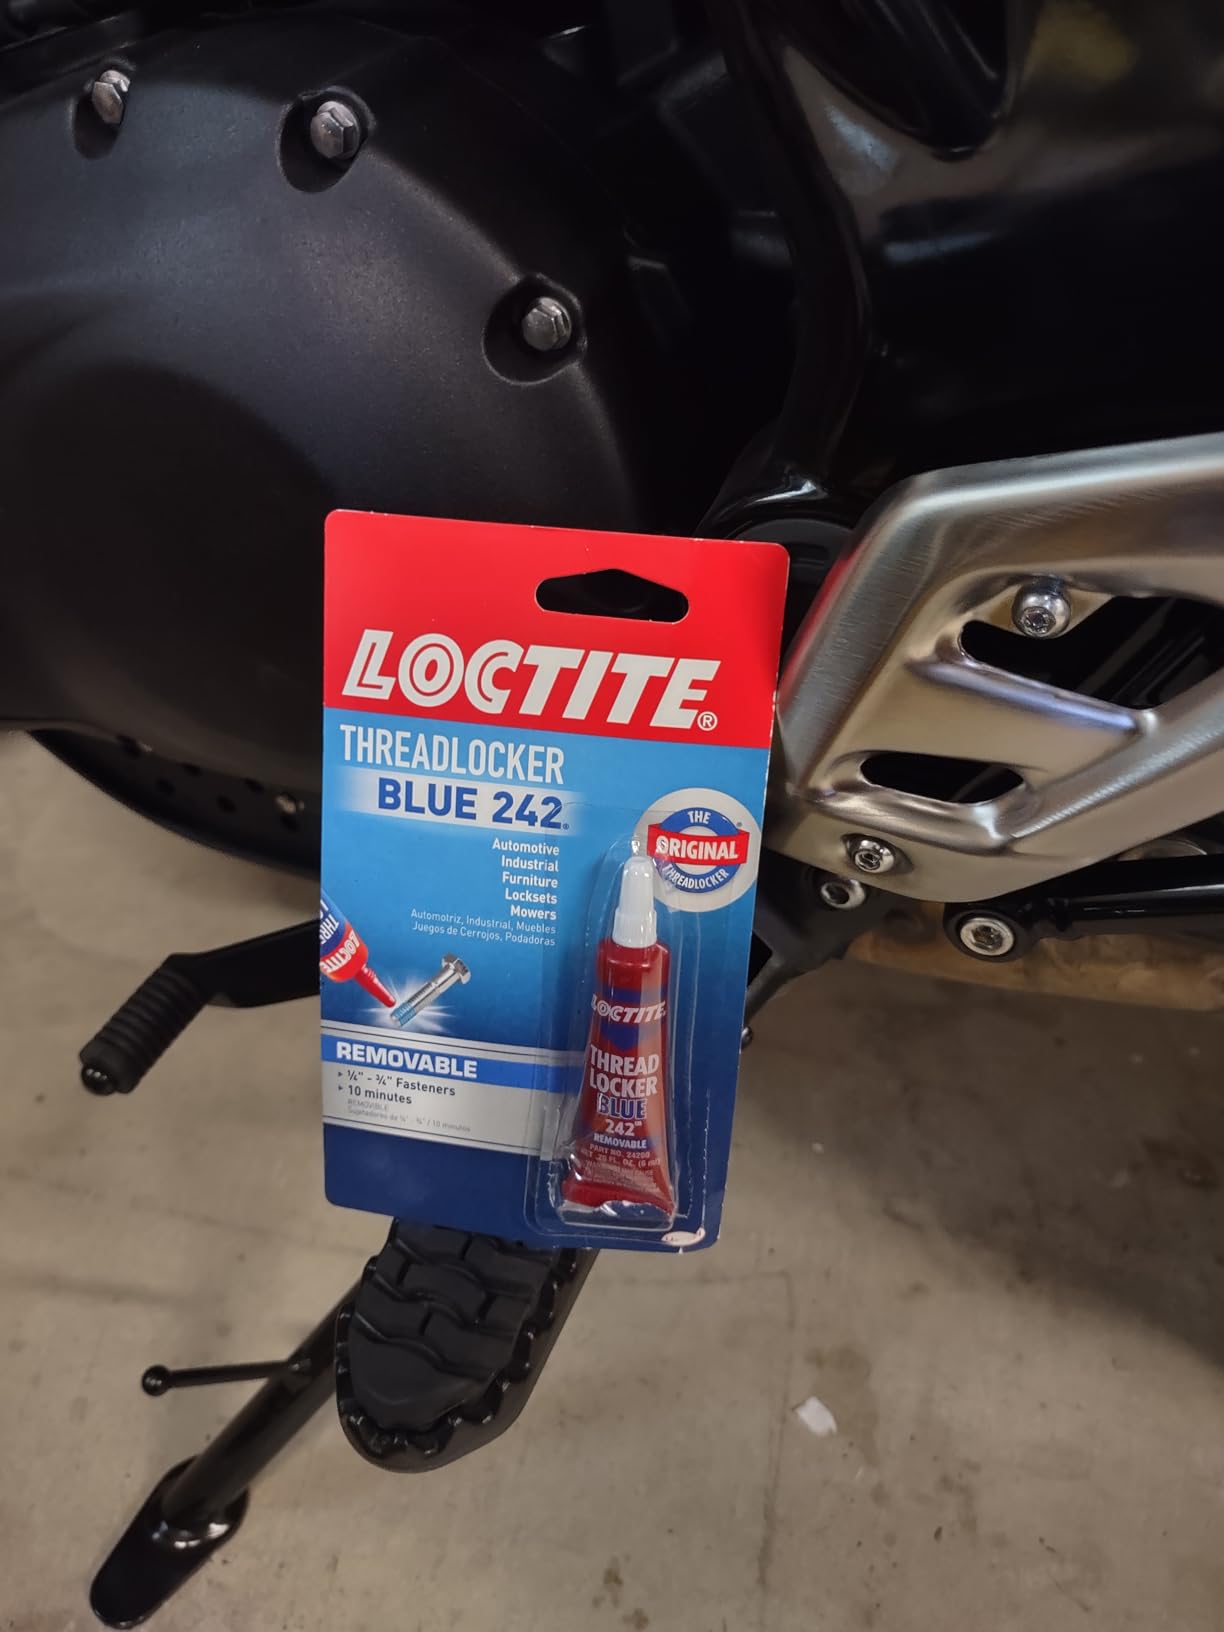
Apply threadlocker to fasteners during reassembly to prevent loosening from vibration. The blue medium-strength formula allows future removal while securing hardware firmly.
Safety Considerations
Let's discuss keeping your kayak afloat and yourself uninjured.
Structural Integrity
Never drill through bulkheads (the internal walls), scupper tubes, drain plug areas, seat mounting points, or handle attachment points. These areas provide critical structural strength.
Planning for Emergencies
Murphy's Law loves kayakers. Keep marine sealant in your repair kit for quick fixes. Pack rubber stoppers as emergency plugs. Photograph your drilled locations for reference. Test all modifications in shallow water before trusting them offshore. Always have a backup plan.
Legal Requirements
Some states regulate kayak modifications. Flag poles are often legally required for visibility. Light mounting may be mandatory for night operation. Registration number placement rules apply. Capacity plates must remain visible and legible.
Check your local regulations before drilling. Compliance prevents fines and keeps you legal on the water.
Frequently Asked Questions
Conclusion: Drill Smart, Paddle Happy
After twenty years of drilling holes in kayaks – some perfect, some teaching moments – I can tell you this with certainty: proper modifications transform a good kayak into your perfect kayak.
The essential lessons to remember: location matters more than technique, quality hardware and sealant prevent problems, measuring twice and drilling once still applies, and starting conservative beats fixing mistakes.
Whether you're mounting your first rod holder or building a complete electronics suite, take your time and do it right. That $15 tube of Marine Goop is far cheaper than a new kayak or replacement gear.
My current fishing kayak carries 18 drilled modifications and stays bone dry through all-day trips. Yours can too – follow the guidelines we've covered and avoid the mistakes I've already made on your behalf.
Looking for more modification ideas? Check out our top kayak mods guide for additional inspiration. Now grab that drill and start customizing. The fish await, and your perfect accessory setup is just a few well-placed holes away.